In Part 1, we looked at the power of Notion and how we might structure it to create a useful product management tool. In Part 2, we’ll dig into how to set it up, exploring databases, properties, rollups, formulas and linked databases to level up your Notion-fu. This is an in-depth step-by-step guide.
We’ll also share a Notion template of what we’ve put together as a quick-start shortcut.
Getting started
Let’s create our first database and explore what’s possible.
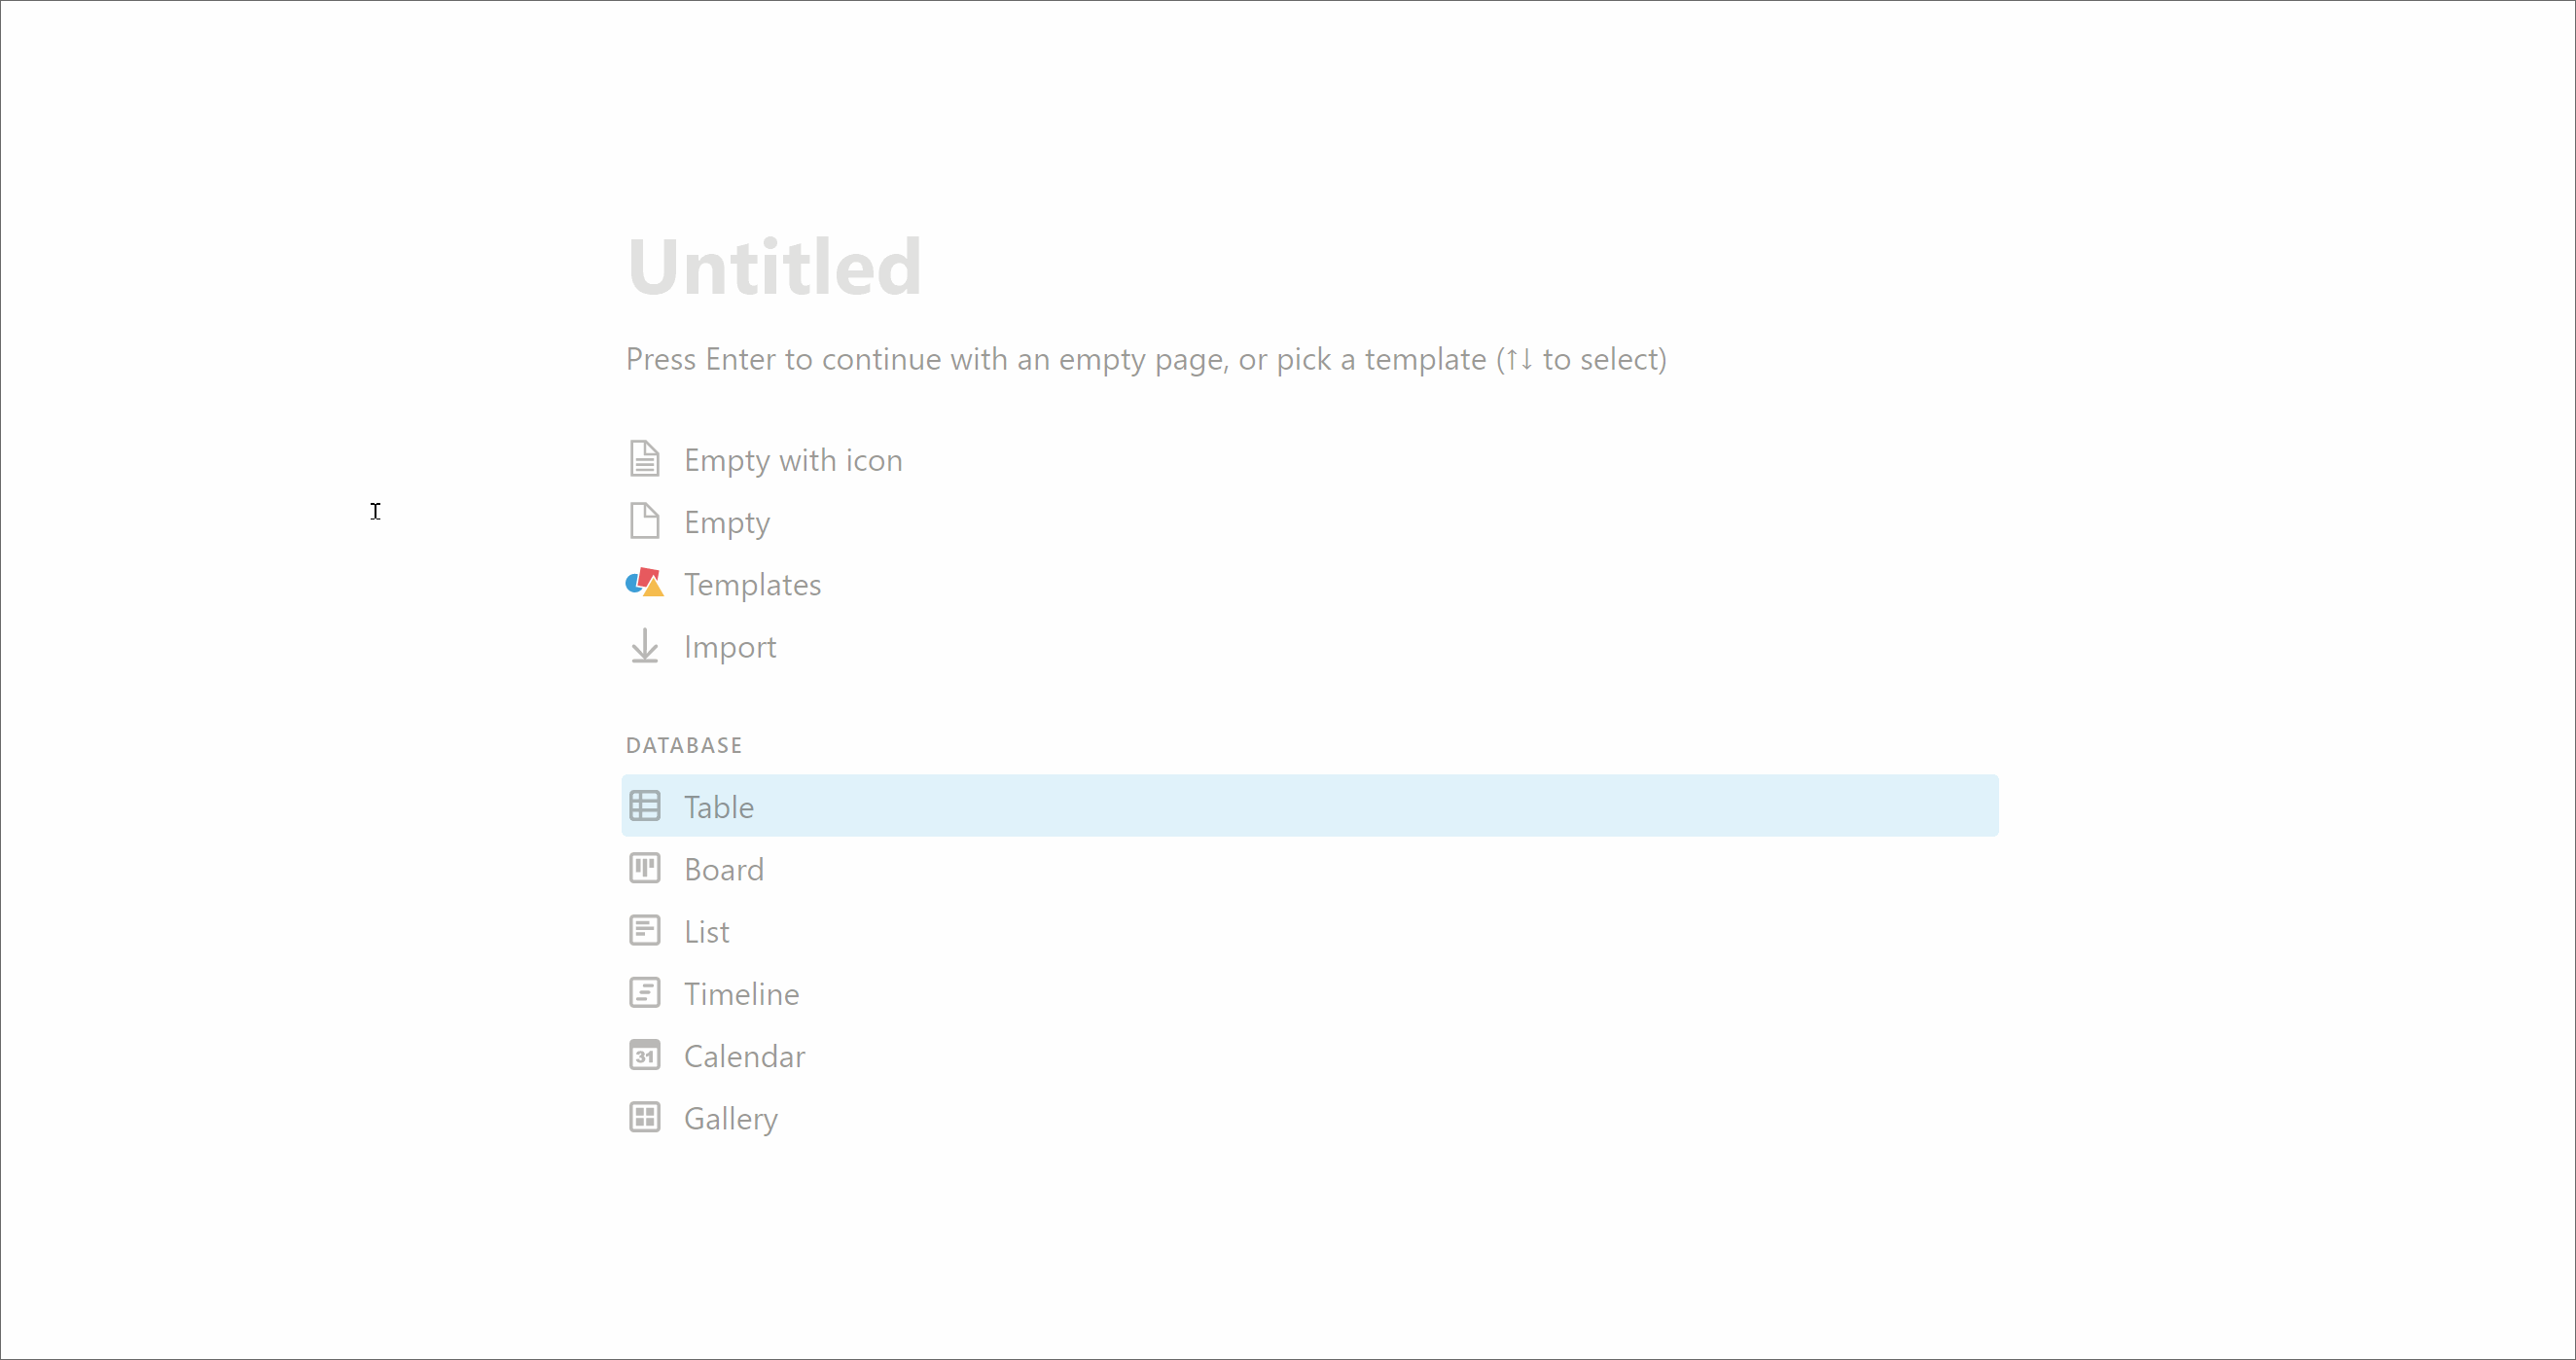
- Add a page
- Title: Tasks
- Select Database: Table
- Select data source > New database
- Create some tasks
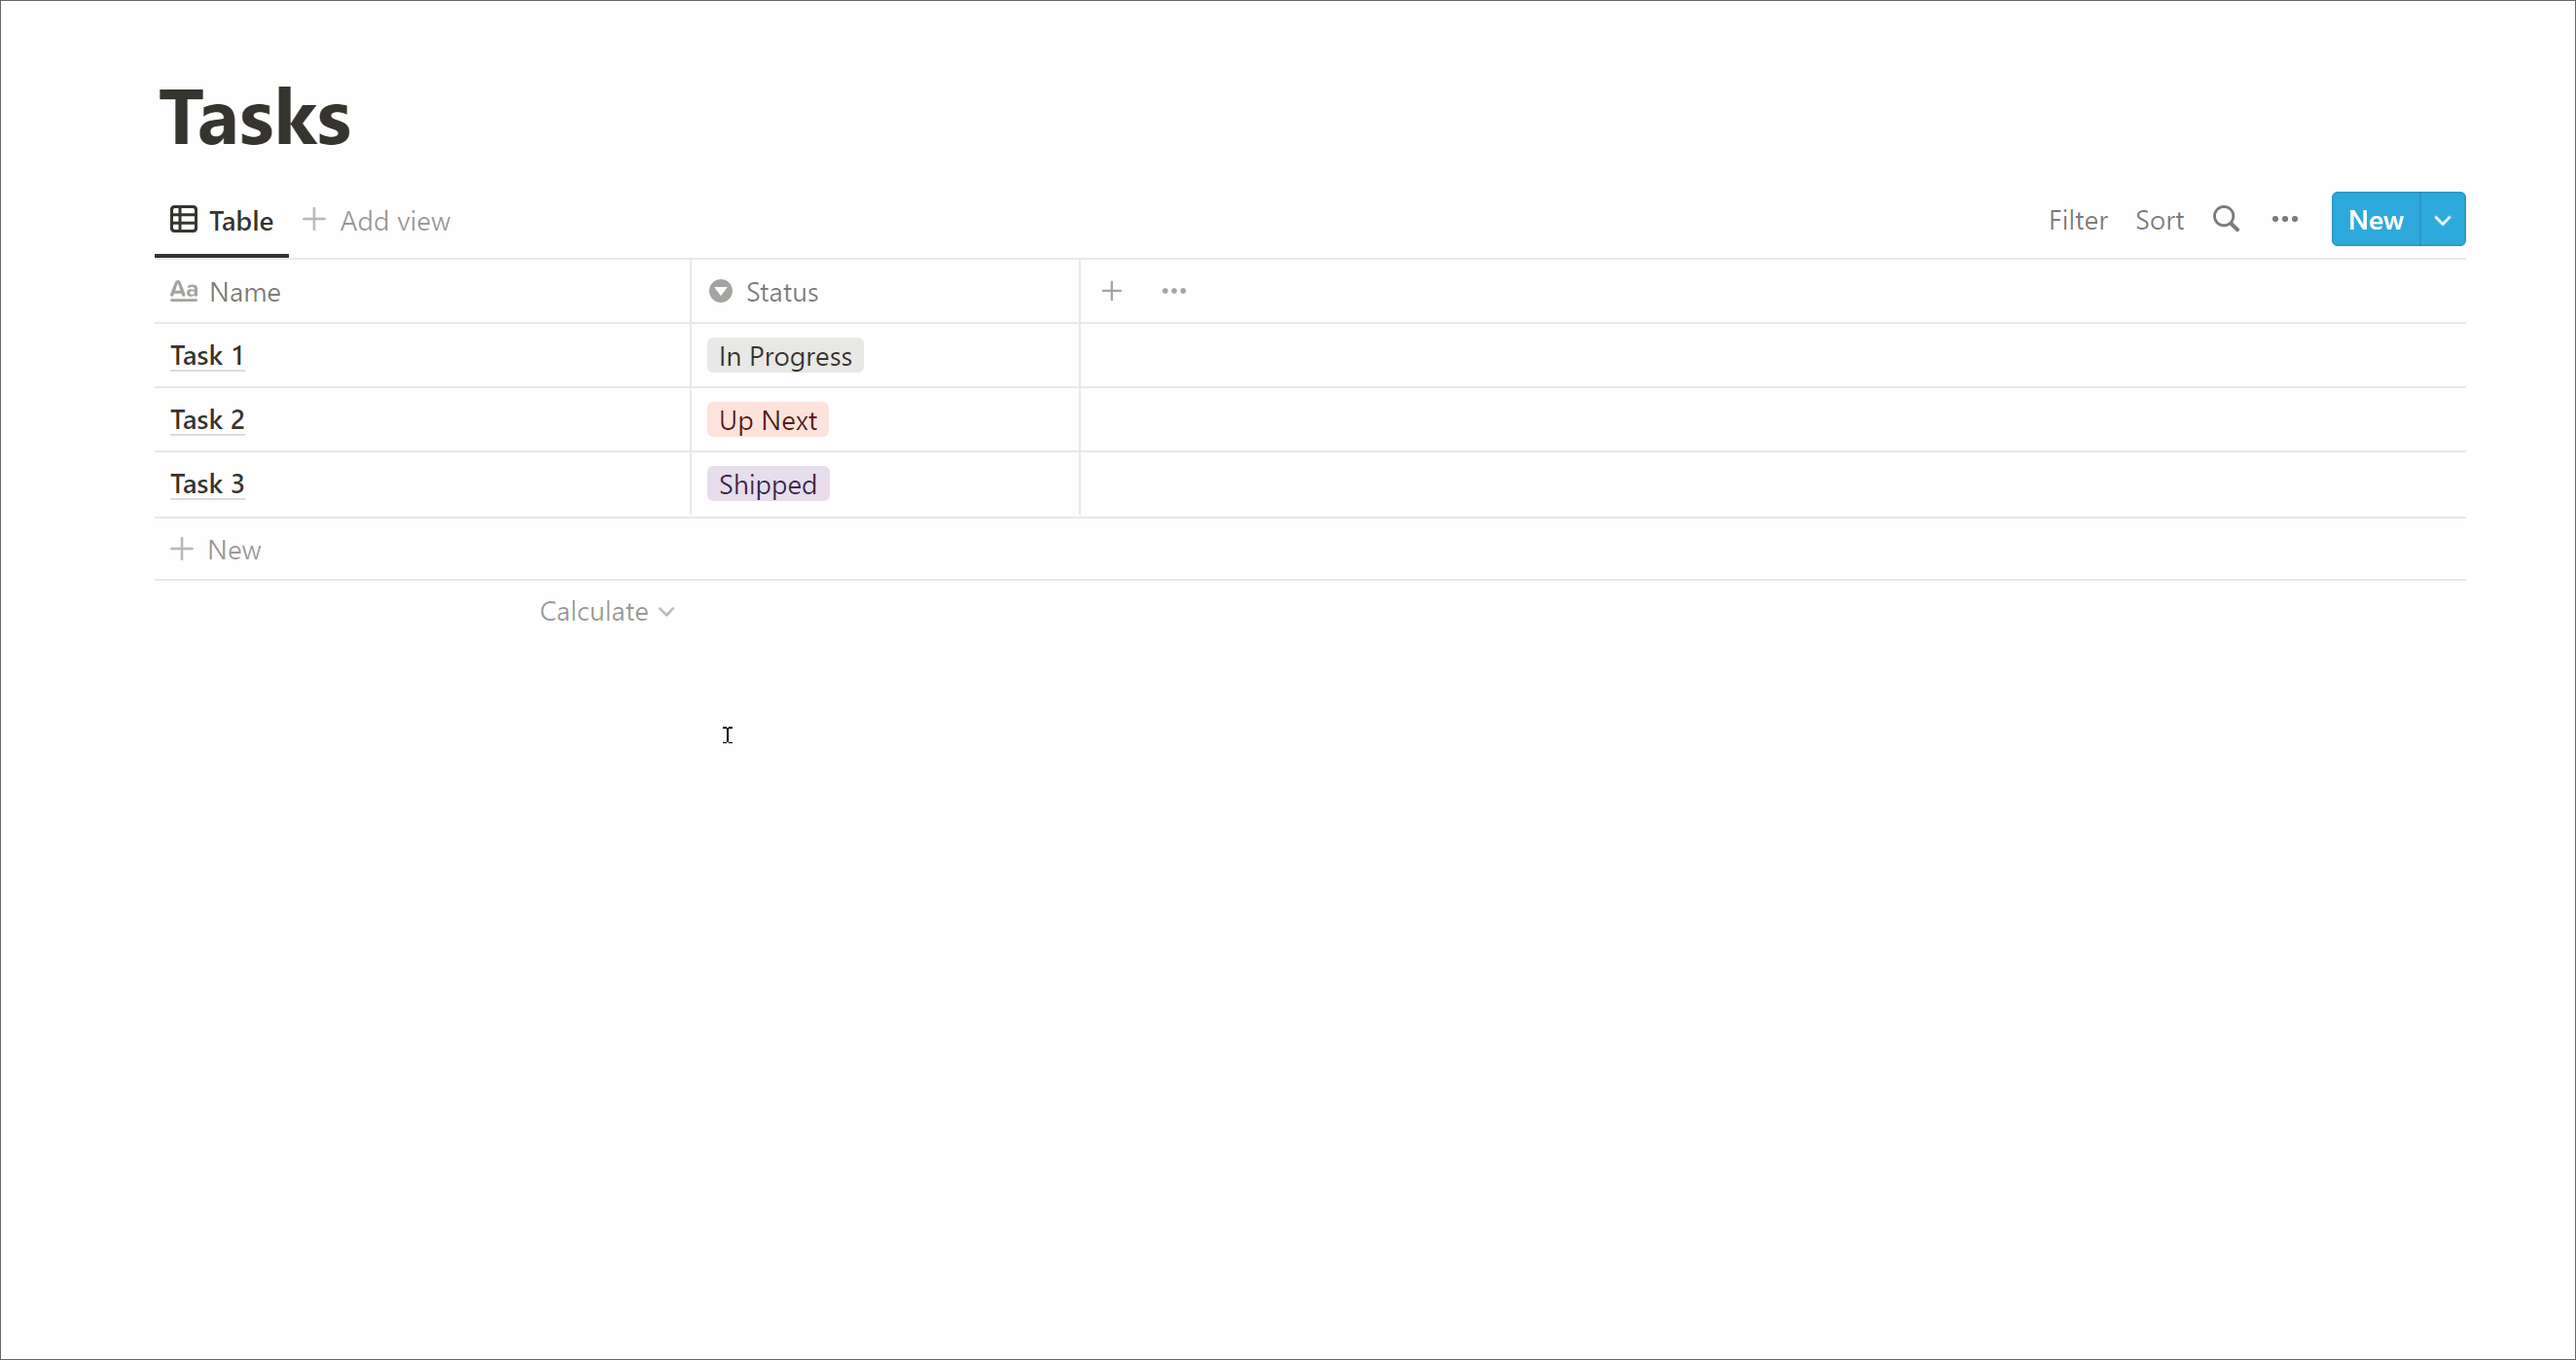
Adding a Status
Every database starts us off with a Title (Name) column, but the rest is up to us! As we’re focusing on tasks we need a way to represent what the status of a task is. That is, whether a task is Next Up, In Progress, Shipped (or whatever naming you prefer). To do this we add a new property:

- First, there’s a Tag property added by default which we can delete (Right-click > Delete)
- Add Property
- Name: Status
- Type: Select (represents stages so perfect for this eg. To do > Doing > Done)
- Add an option (Discussion, Next Up, In Progress, Code Review, Shipped)
- Apply a Status to the example tasks
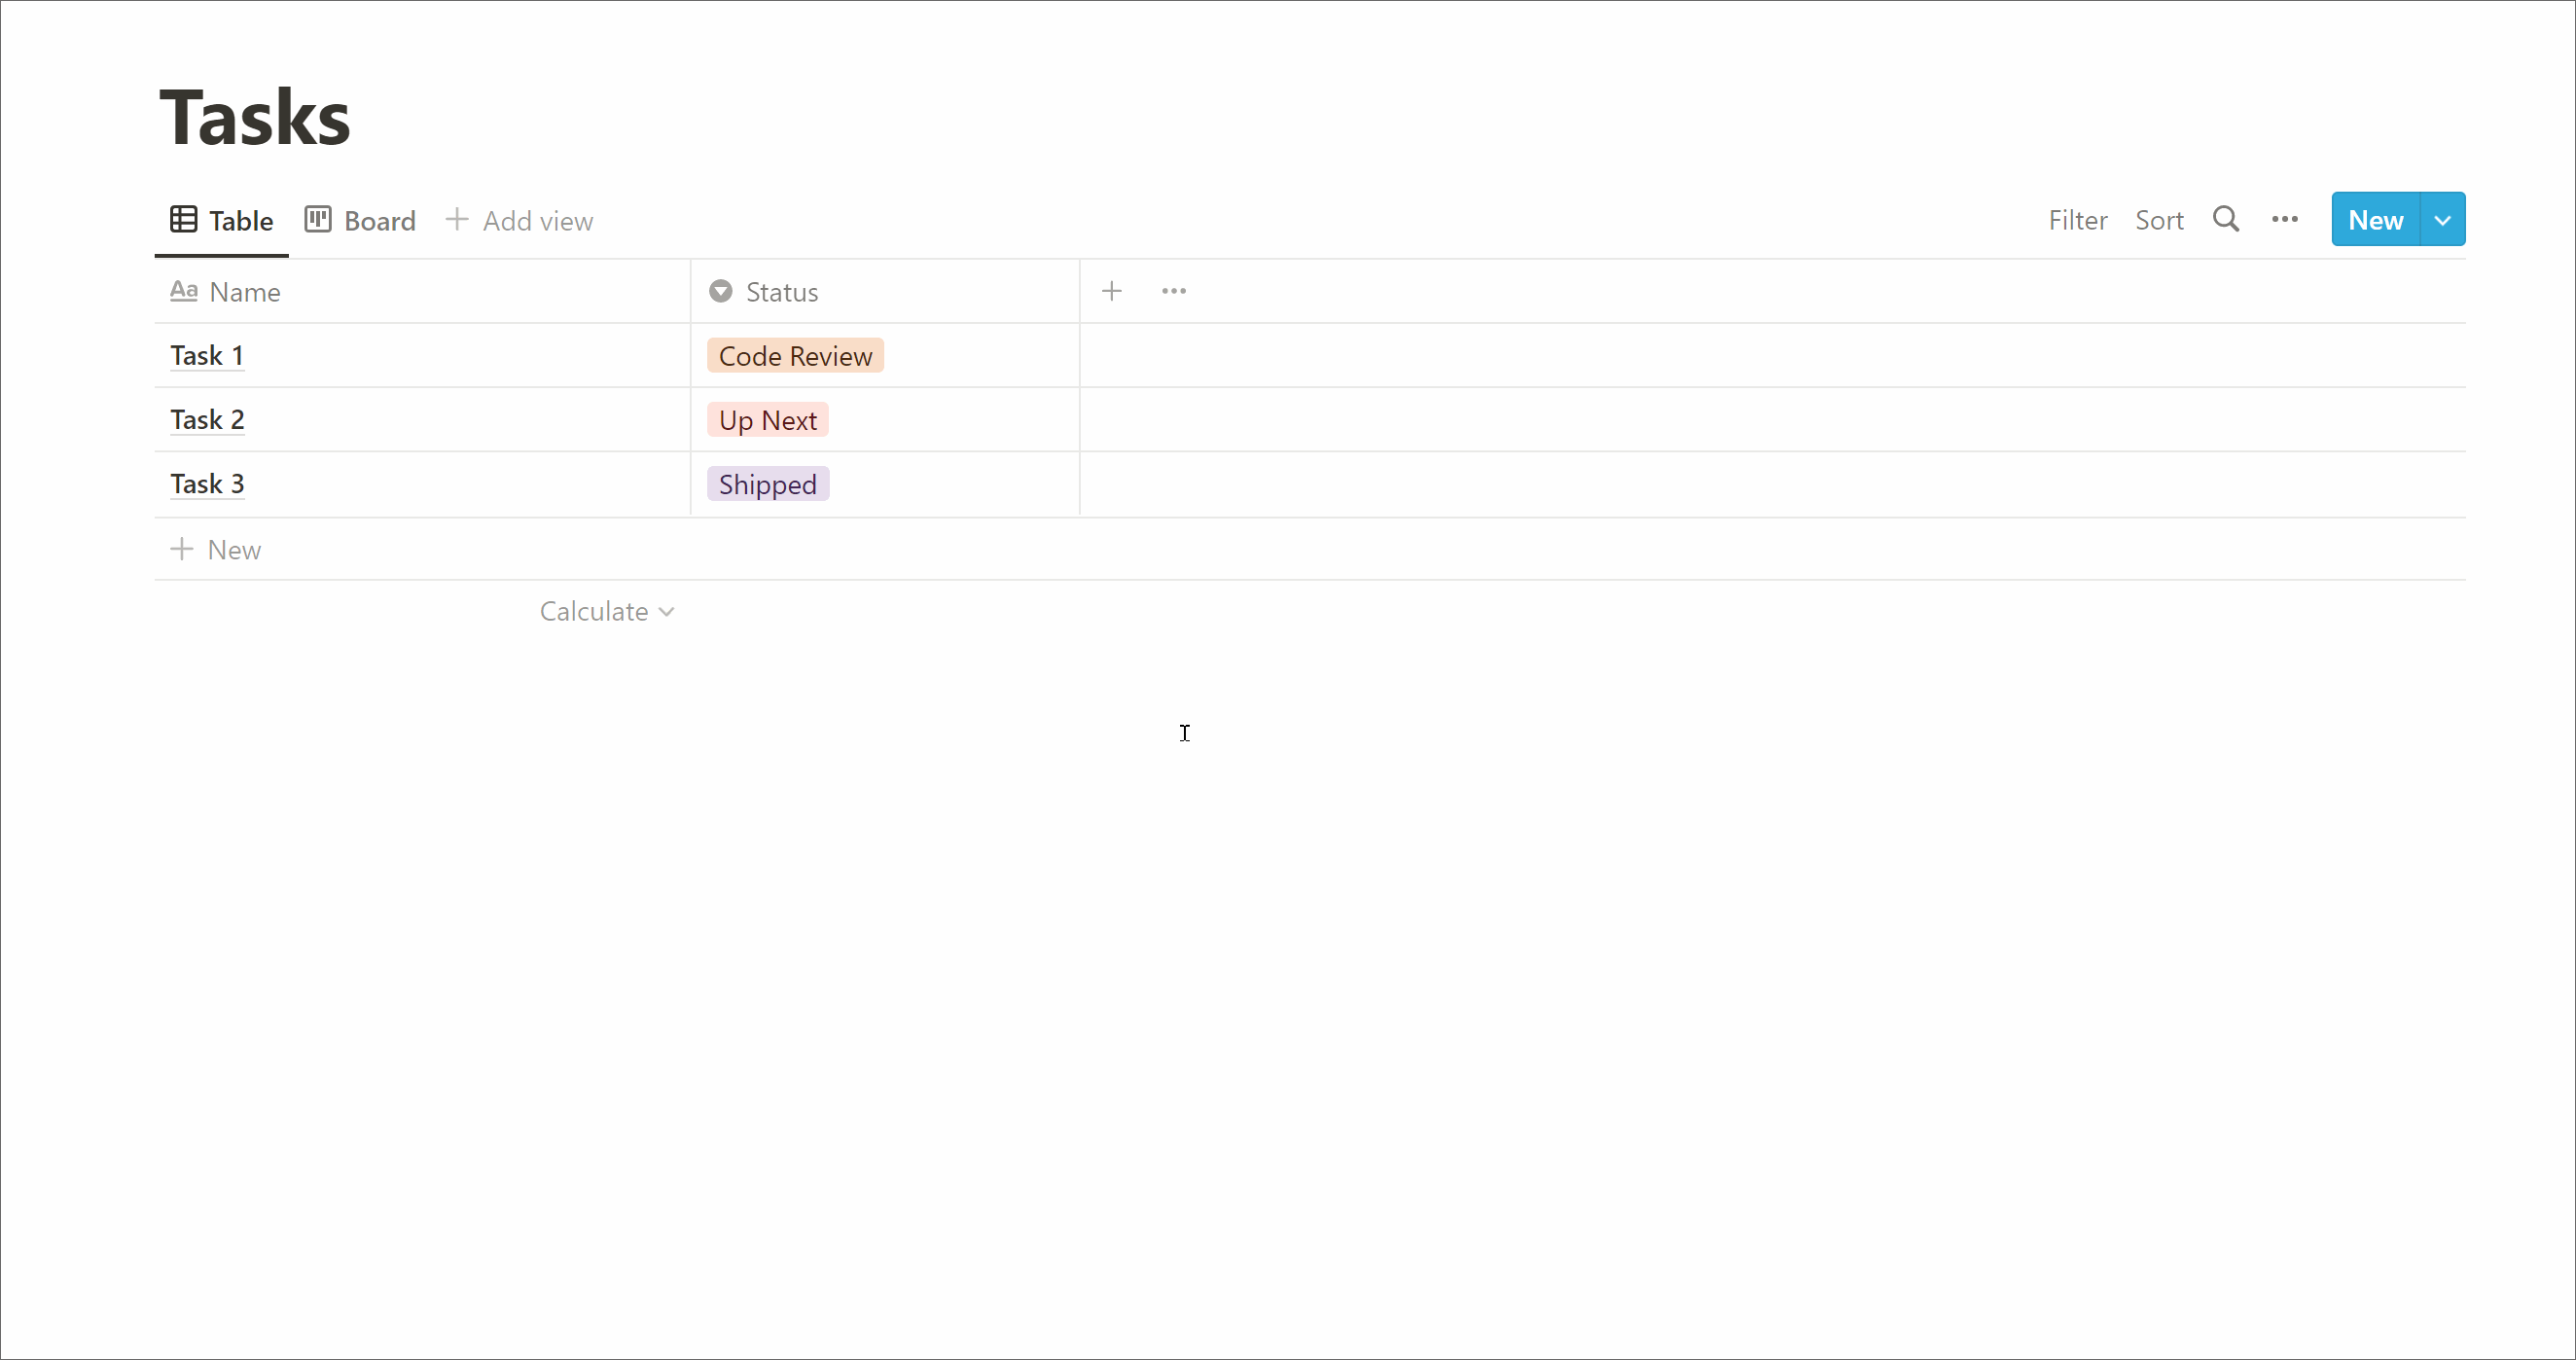
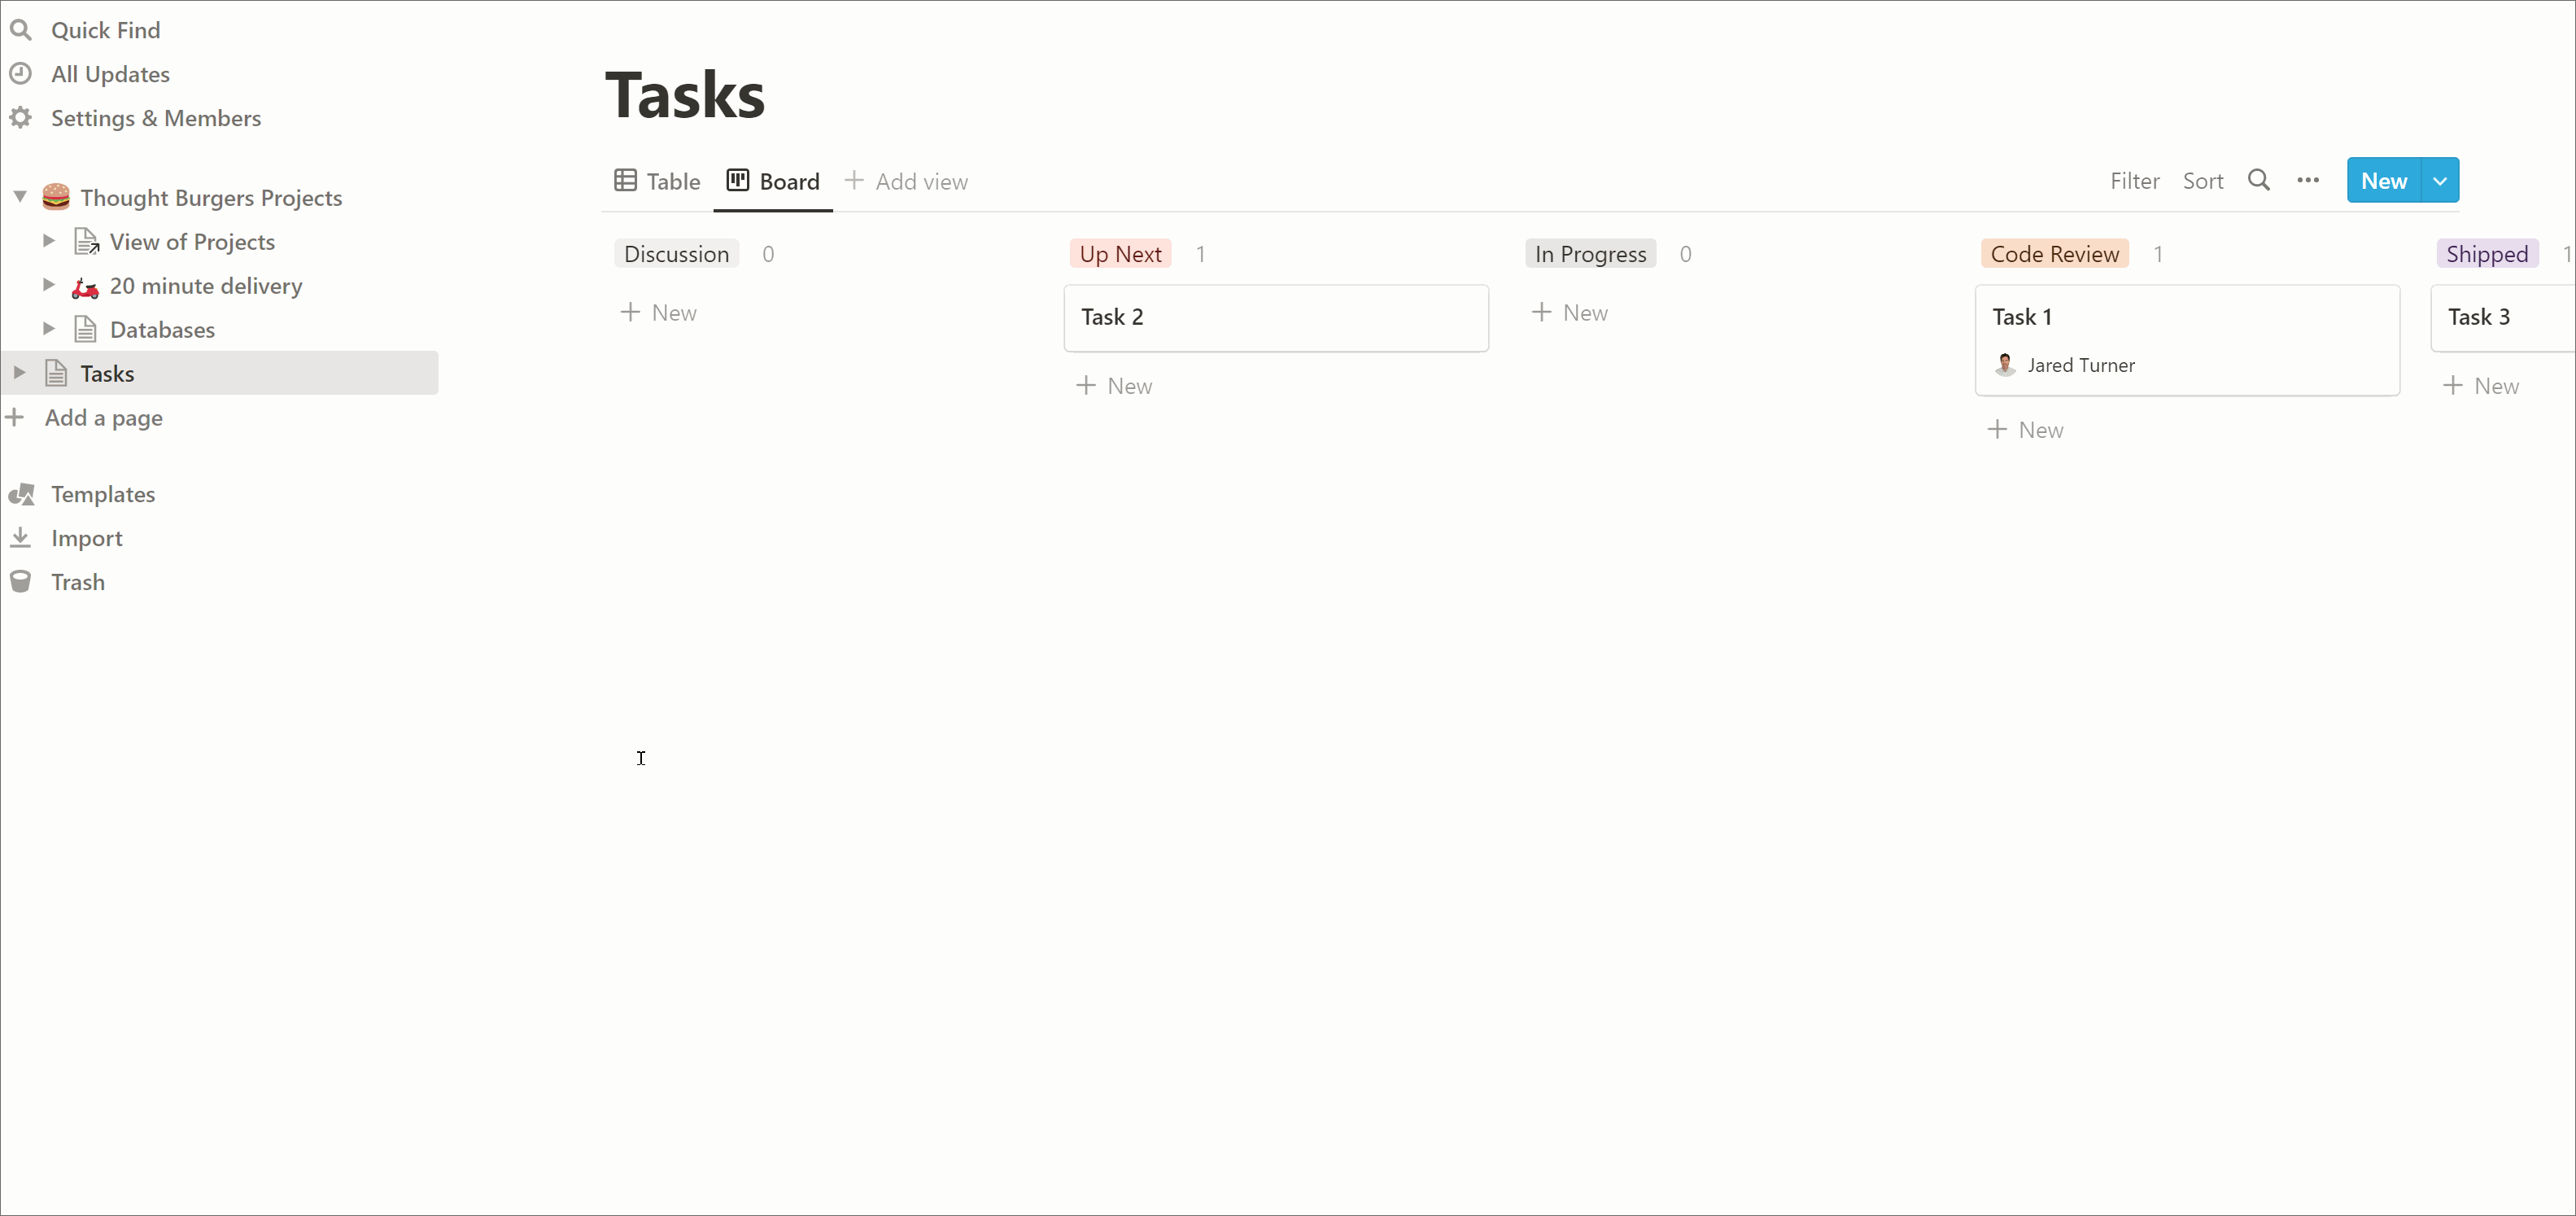
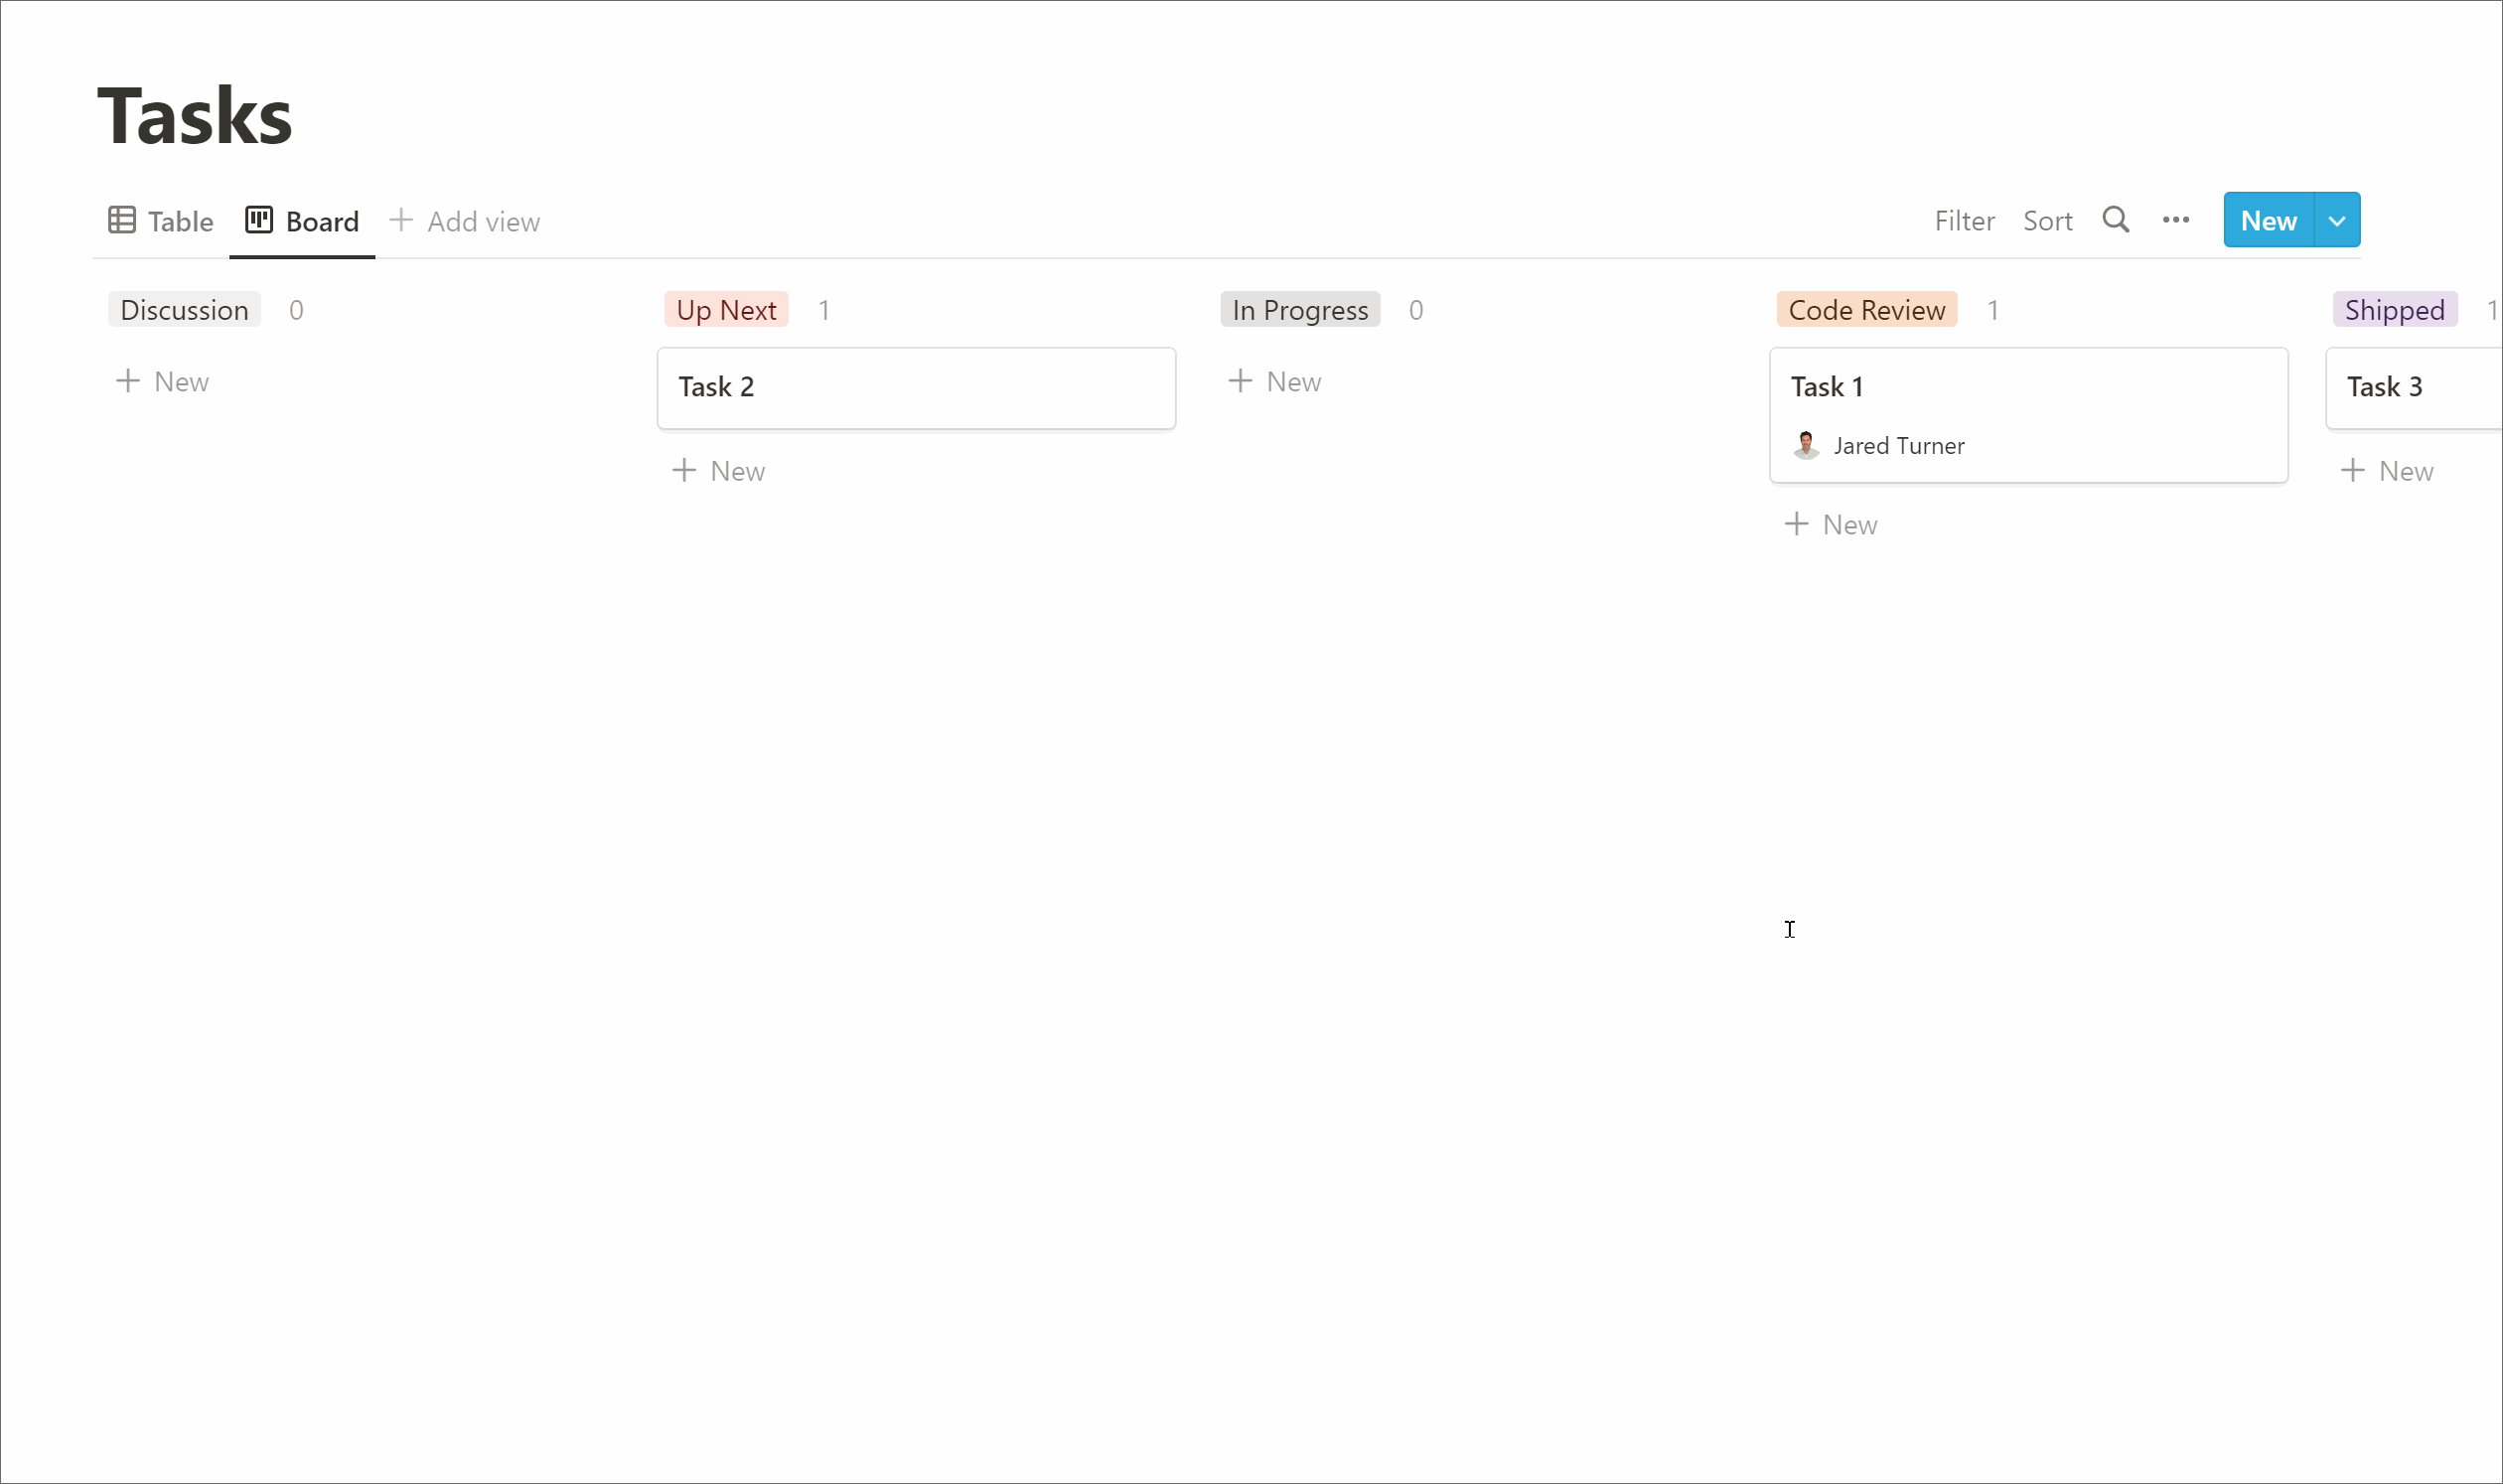
Creating a Board view
Already we’re at the point where we can view this data as a useful Kanban board.
- Add view
- Type: Board
- Group by: Status
- Done
- You may need to drag the Status columns to get the order you want
Assigning a person
Next, we want to be able to assign a person to a task.
- Switch back to the Table view
- Add Property
- Name: Assigned
- Type: Person
When we switch back to the Board view we can no longer see the assigned person. If you open a card you can see the assignment but we want to show the person on each card too.
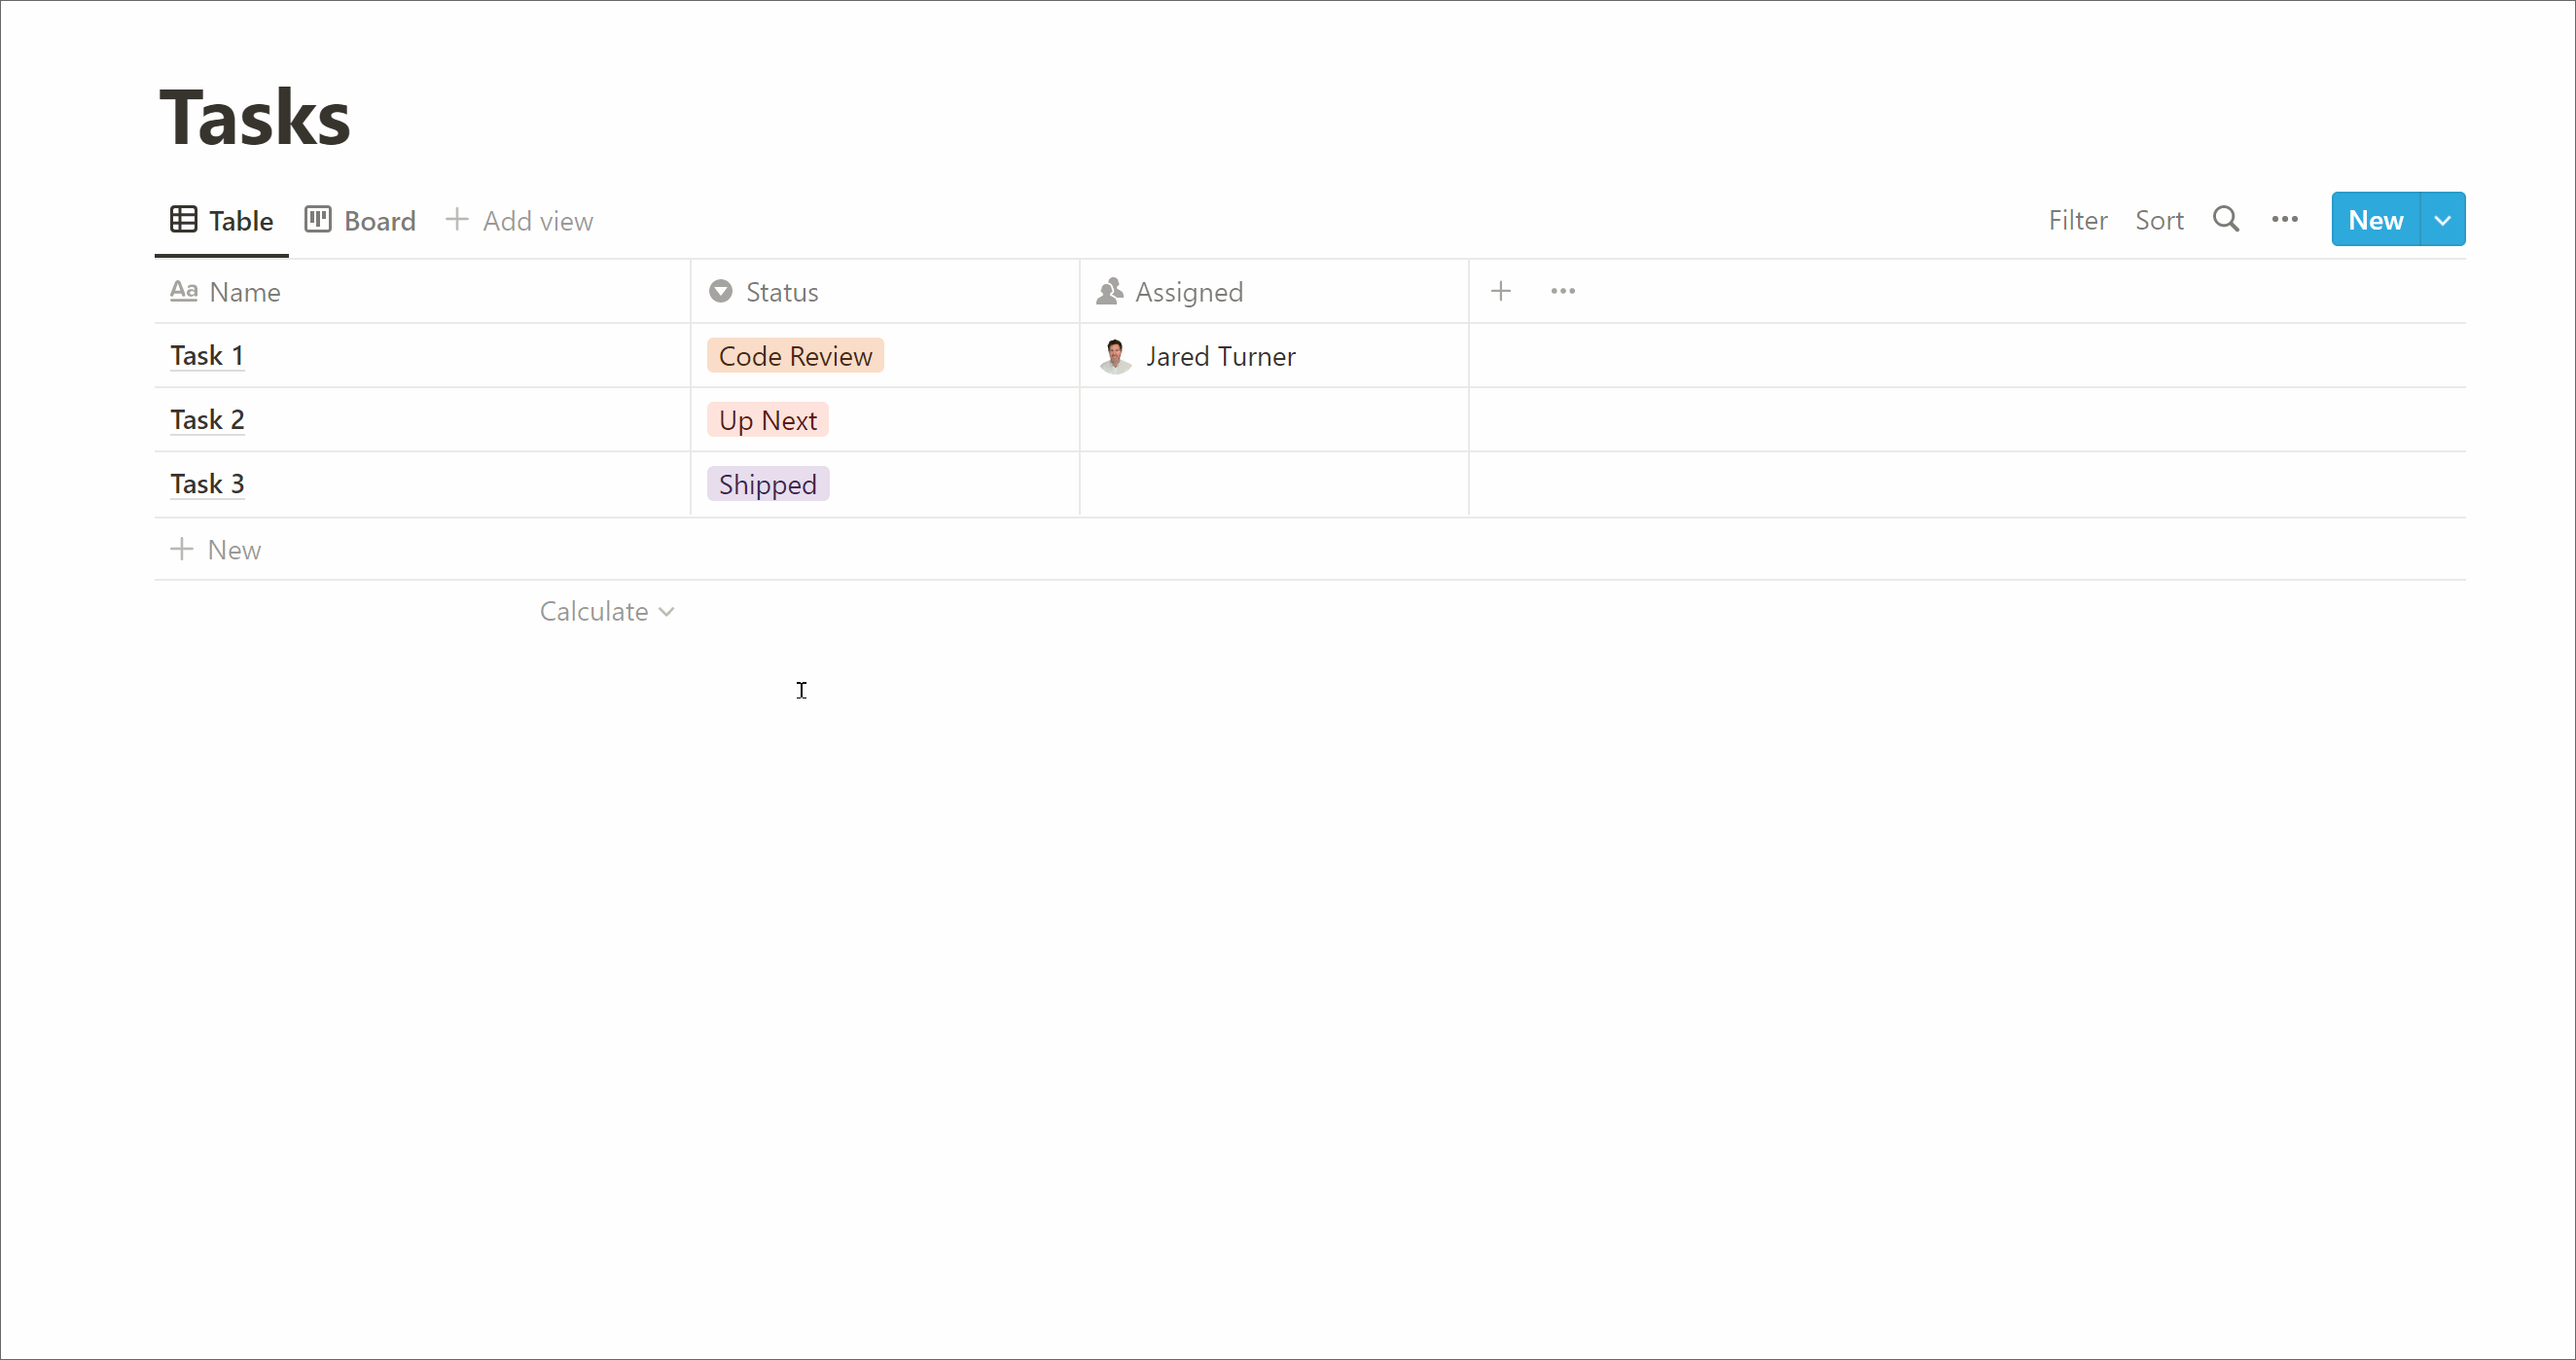
- View options
- Properties
- Toggle the ‘eye’ icon next to Assigned (or simply drag it up into the ‘Shown in board’ section)
We now have a working Kanban board and can start being productive! But what happens when we need another Kanban board for a different project? We could simply create another tasks database, but any tweaks we made we would need to remember to apply to each. Is there a better way?
Levelling up with Linked databases
Notion has a powerful concept of linked databases that allow us to create a synced ‘copy’ of the data and then filter it how we want. This means if we associate each task to a project we can create a tasks board for each without needing to recreate every setting.
Creating a projects database
We want to associate every task to a project but to do this we first need to create a new Projects database:
- Add a page
- Title: Projects
- Select Database: Table
- Select data source > New database
- Create some projects
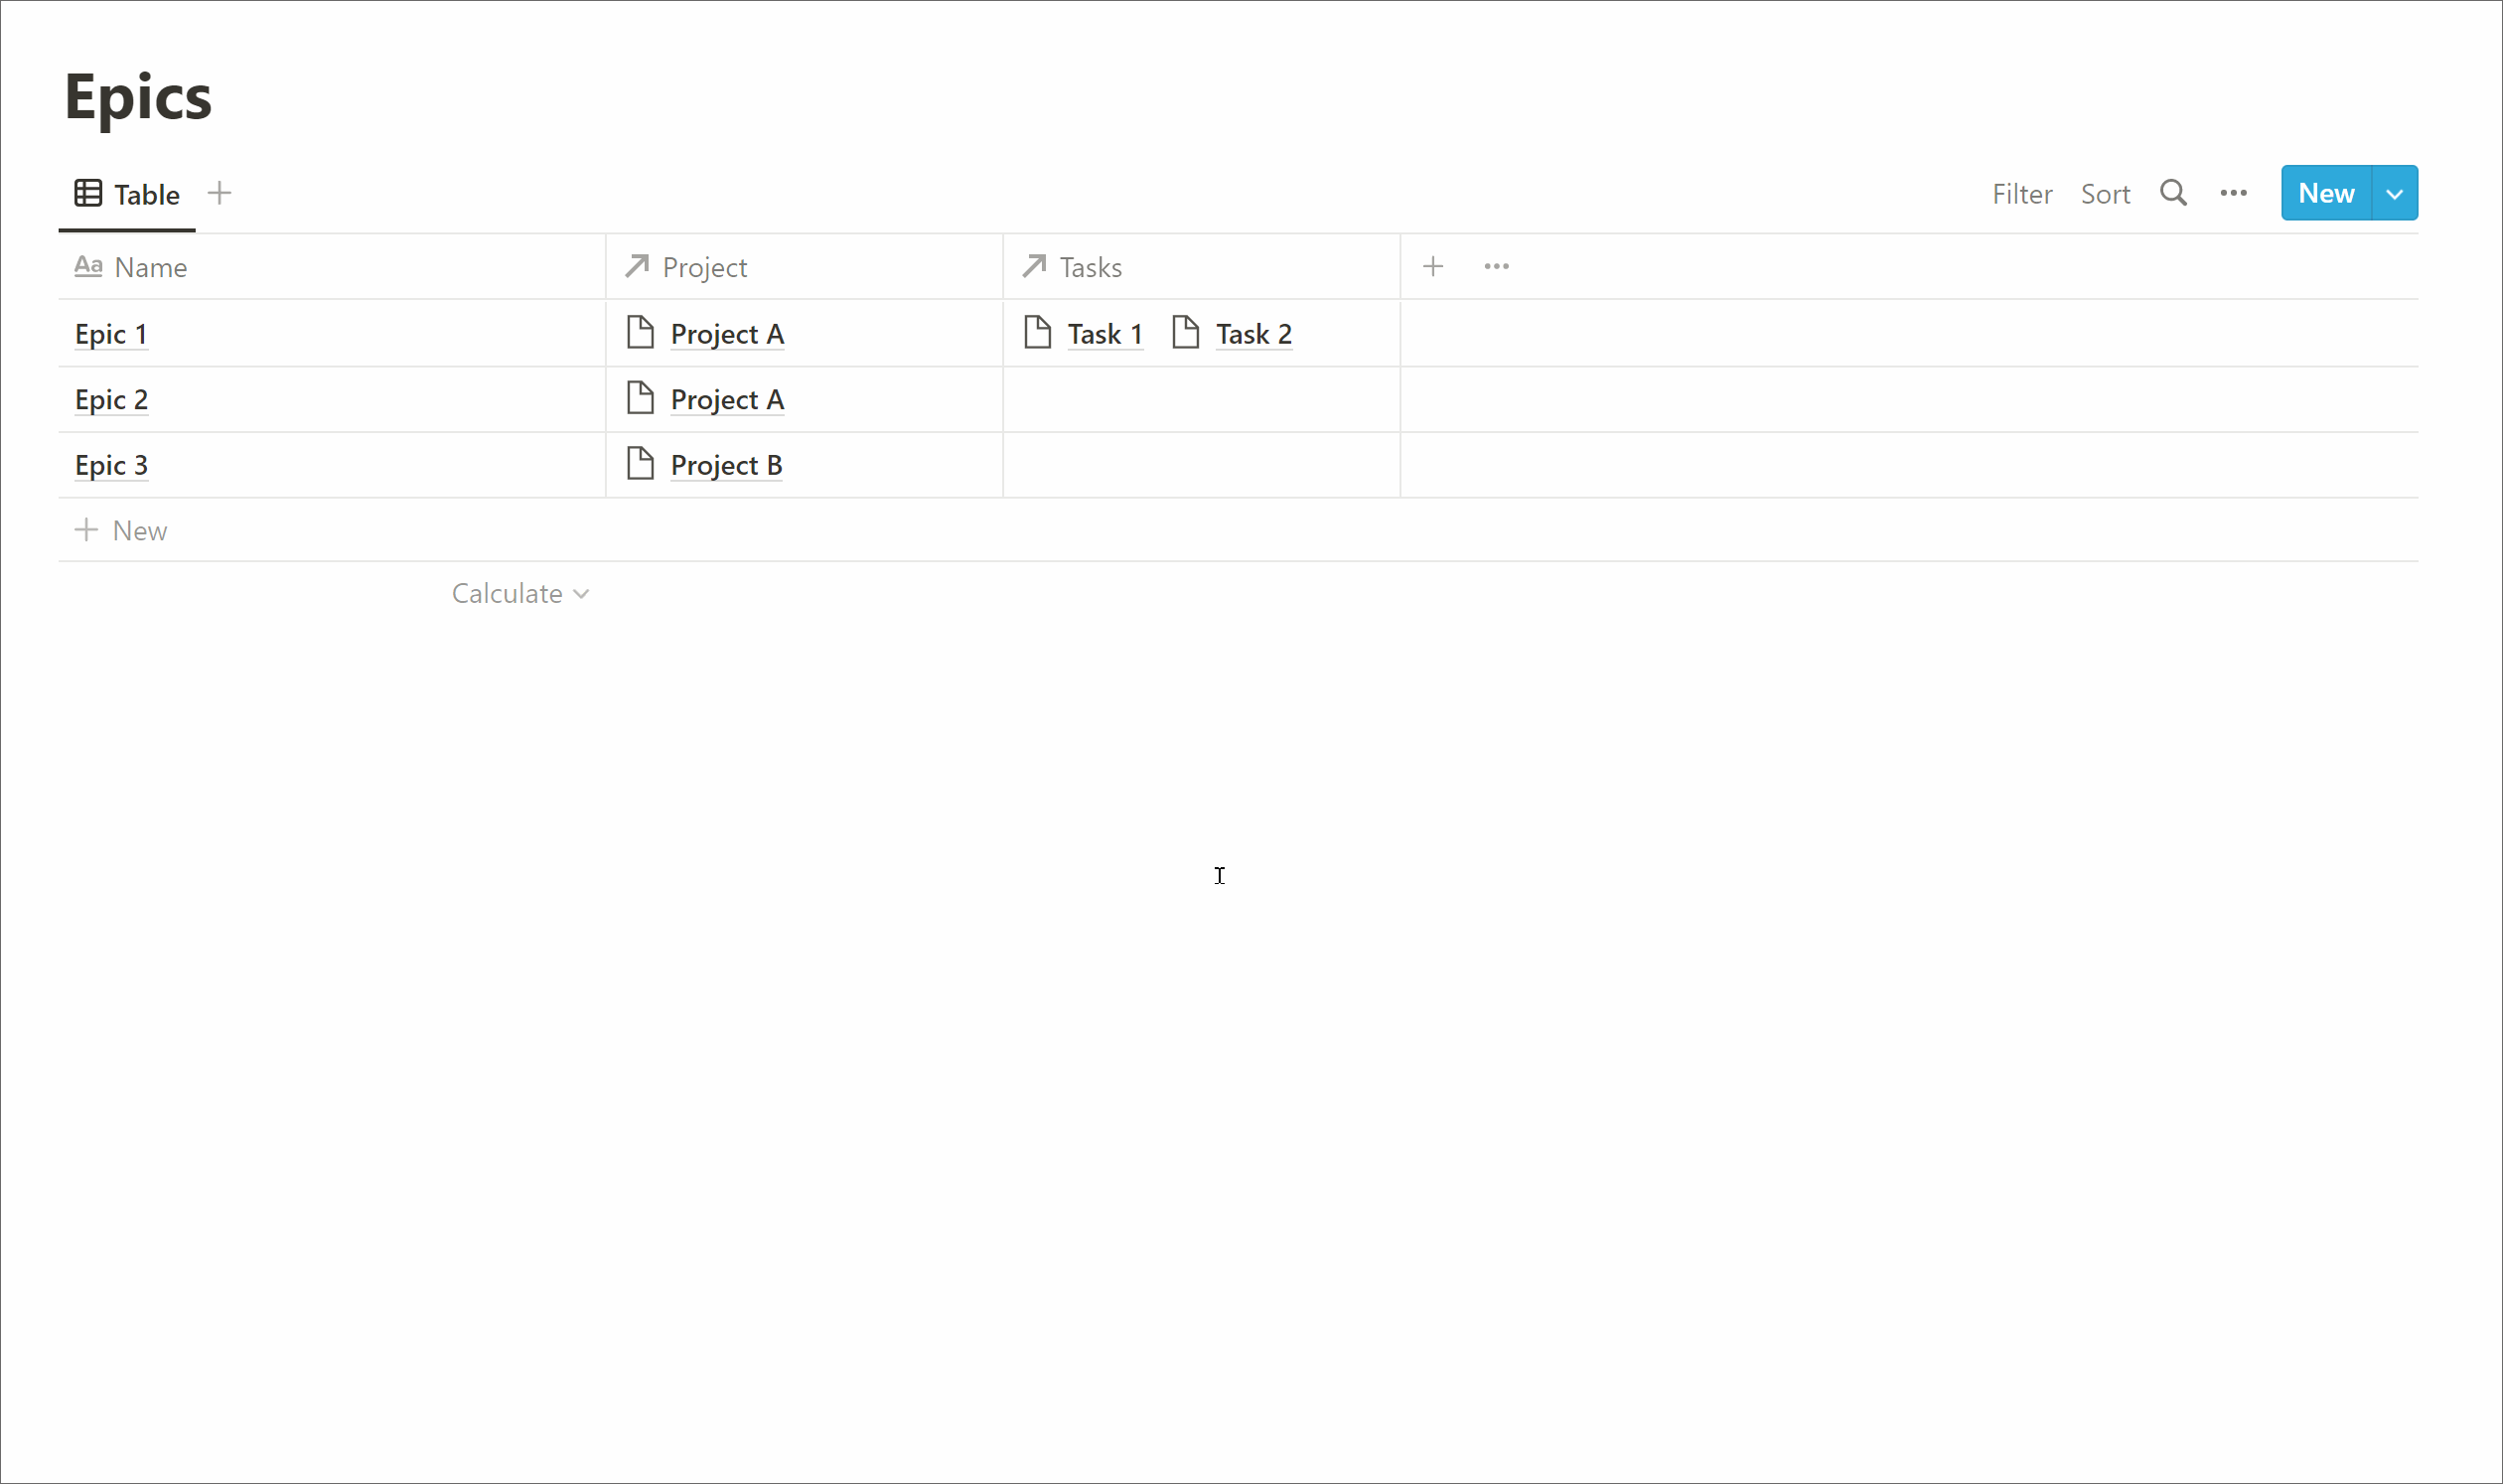
Relate projects to tasks
Now that we have a projects database we can create a relation so that each task can be associated to a project.
- Visit Tasks database
- Options (3 dots)
- Properties
- + New Property
- Name: Project
- Type: Relation
- Related to: Projects (database)
- Associate tasks to projects
Create a tasks database per project
Here’s where we can use linked databases to easily create a task board per project.
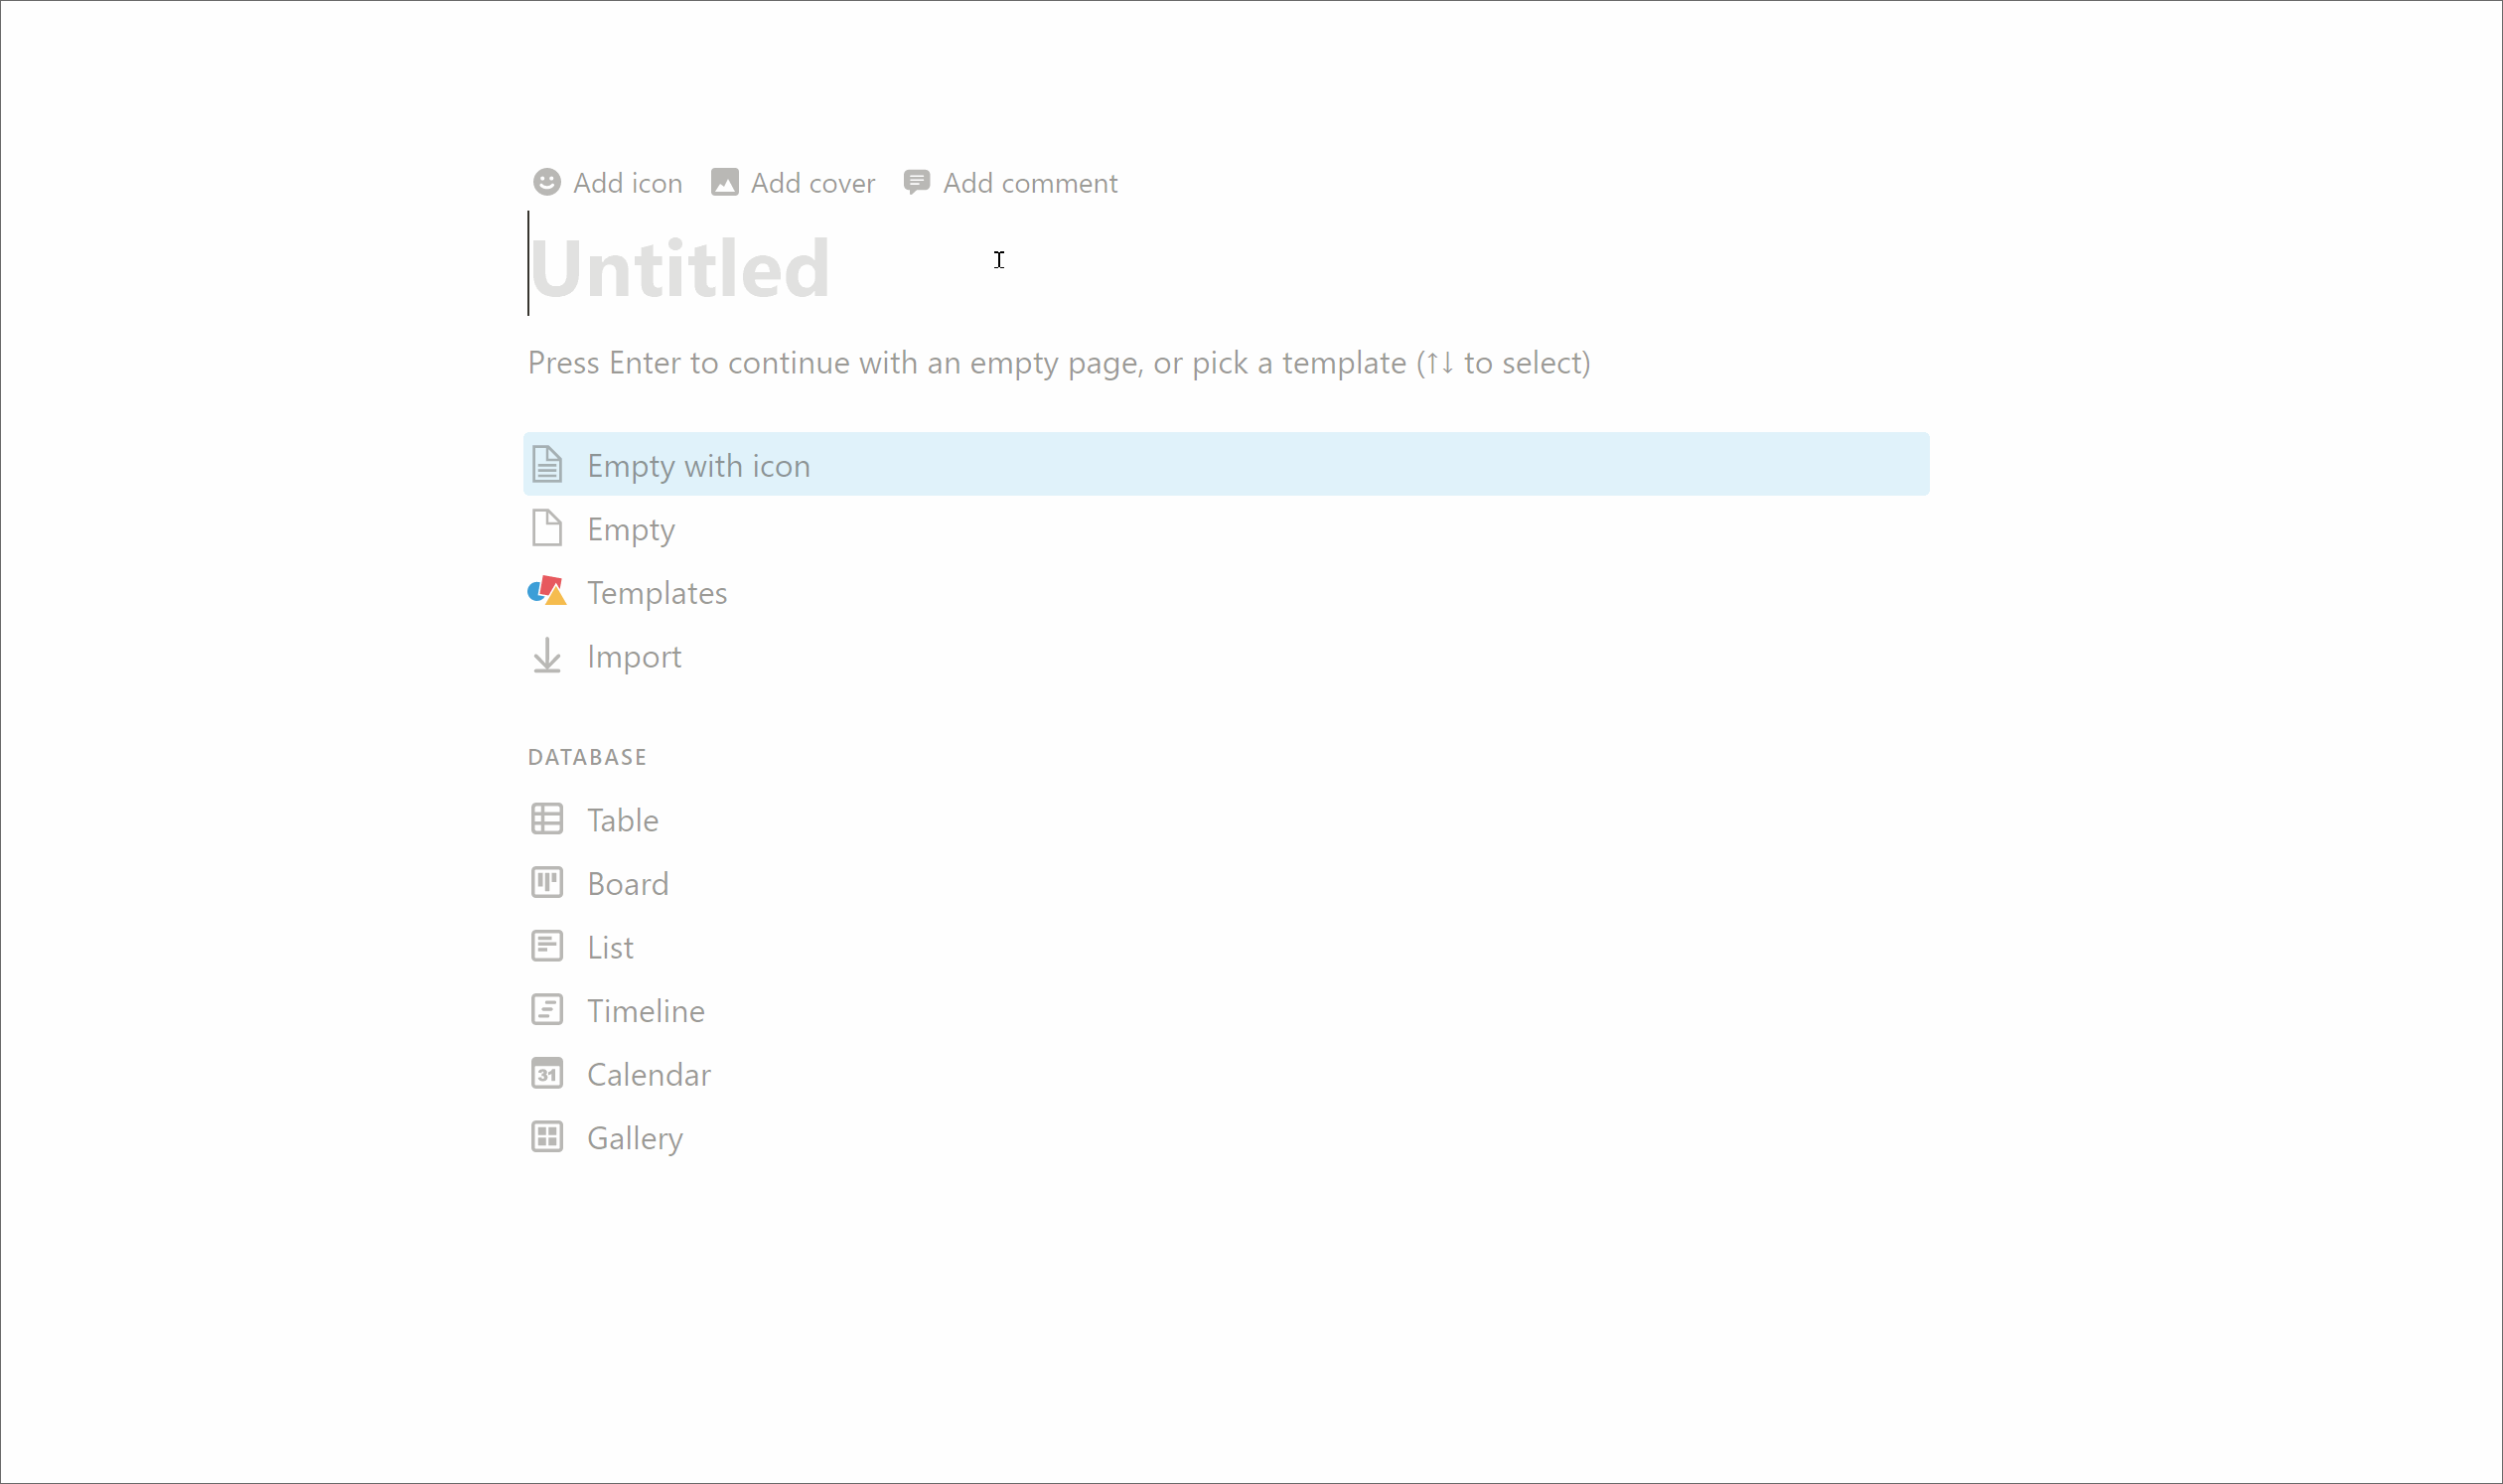
- New page
- Title: Tasks: Project A
- Database: Board
- Select data source: Tasks
- Copy an existing view: Board
- Filter > Project: Project A
Epics and tracking higher level progress
We have tasks and projects, but it’s also useful to have a way to group tasks into themes, often called epics. So projects have many epics and epics have many tasks. Tracking the progress of epics gives a higher-level overview of the status of a project and it’s particularly useful for higher-level stakeholders (where tasks can feel overwhelming).
Creating an epics database
This should be familiar now!
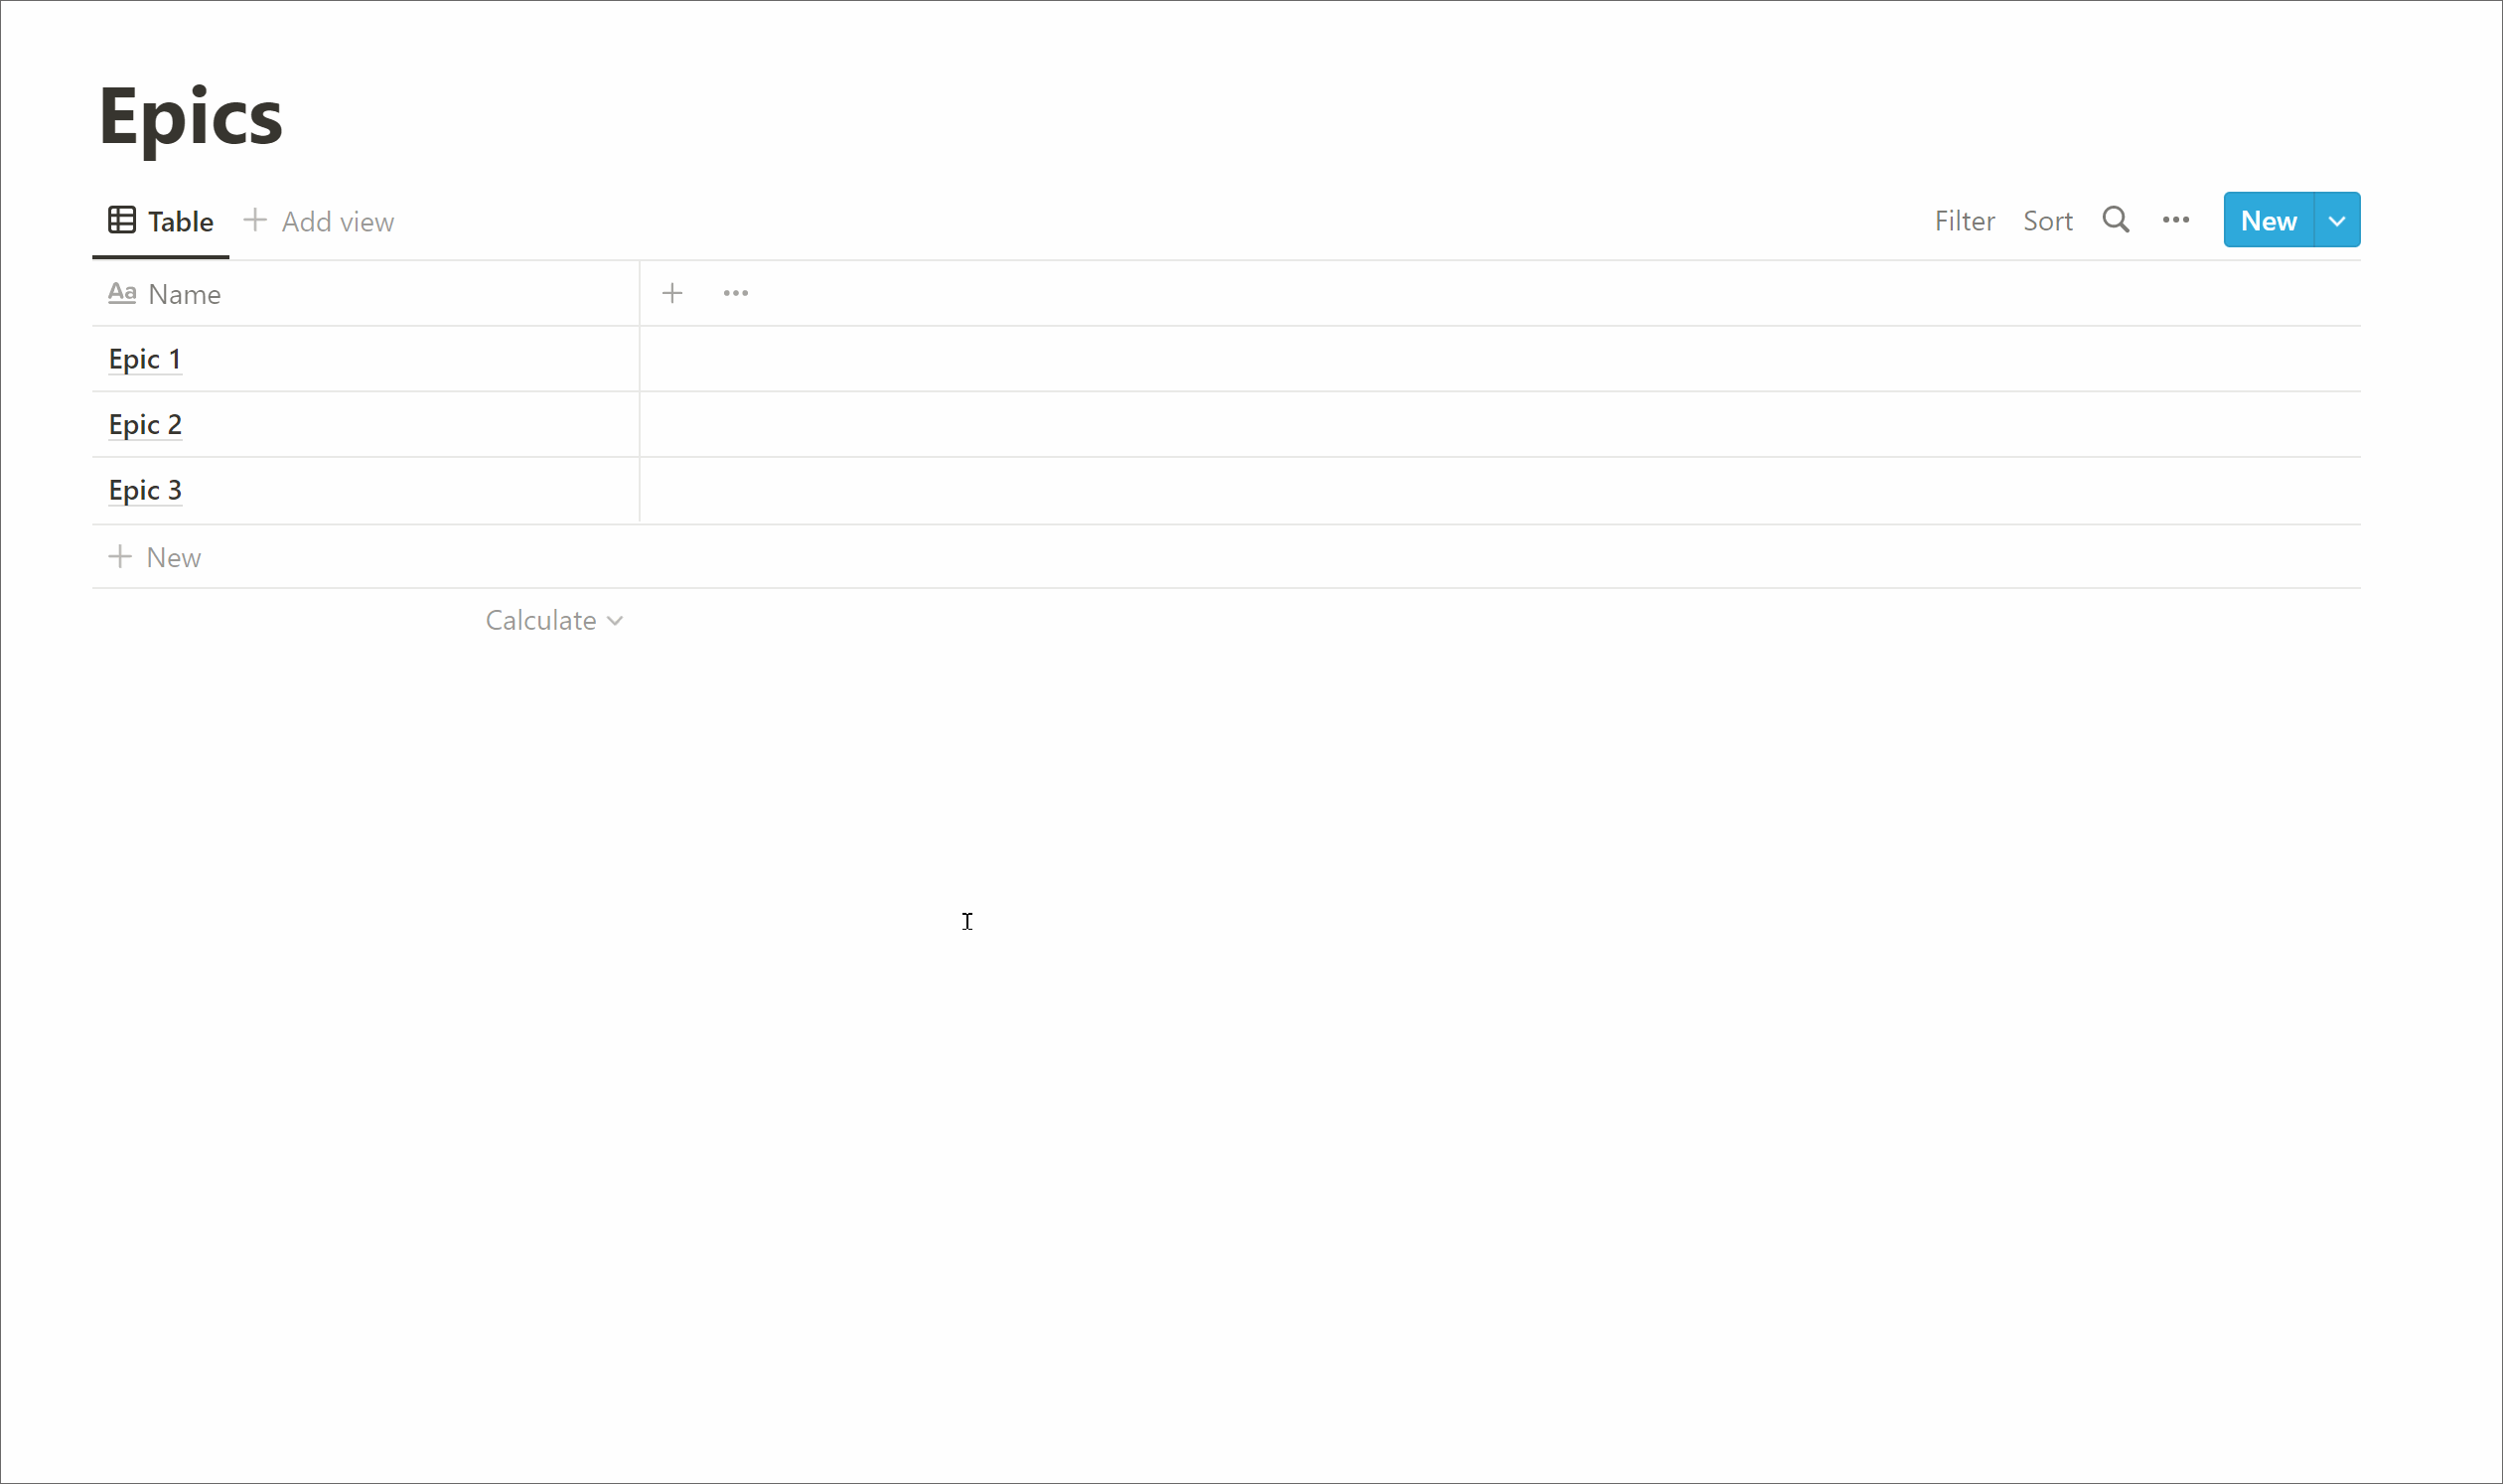
- Add a page
- Title: Epics
- Database: Table
- Select data source: New database
- Add some epics & remove unnecessary default property
Relate projects to epics
- Add property
- Name: Project
- Type: Relation
- Related to: Projects (database)
- Associate epics to projects
Relate epics to tasks
- Add property
- Title: Tasks
- Type: Relation
- Related to: Tasks (database)
- Show on Tasks: Enabled
- Associate tasks to epics
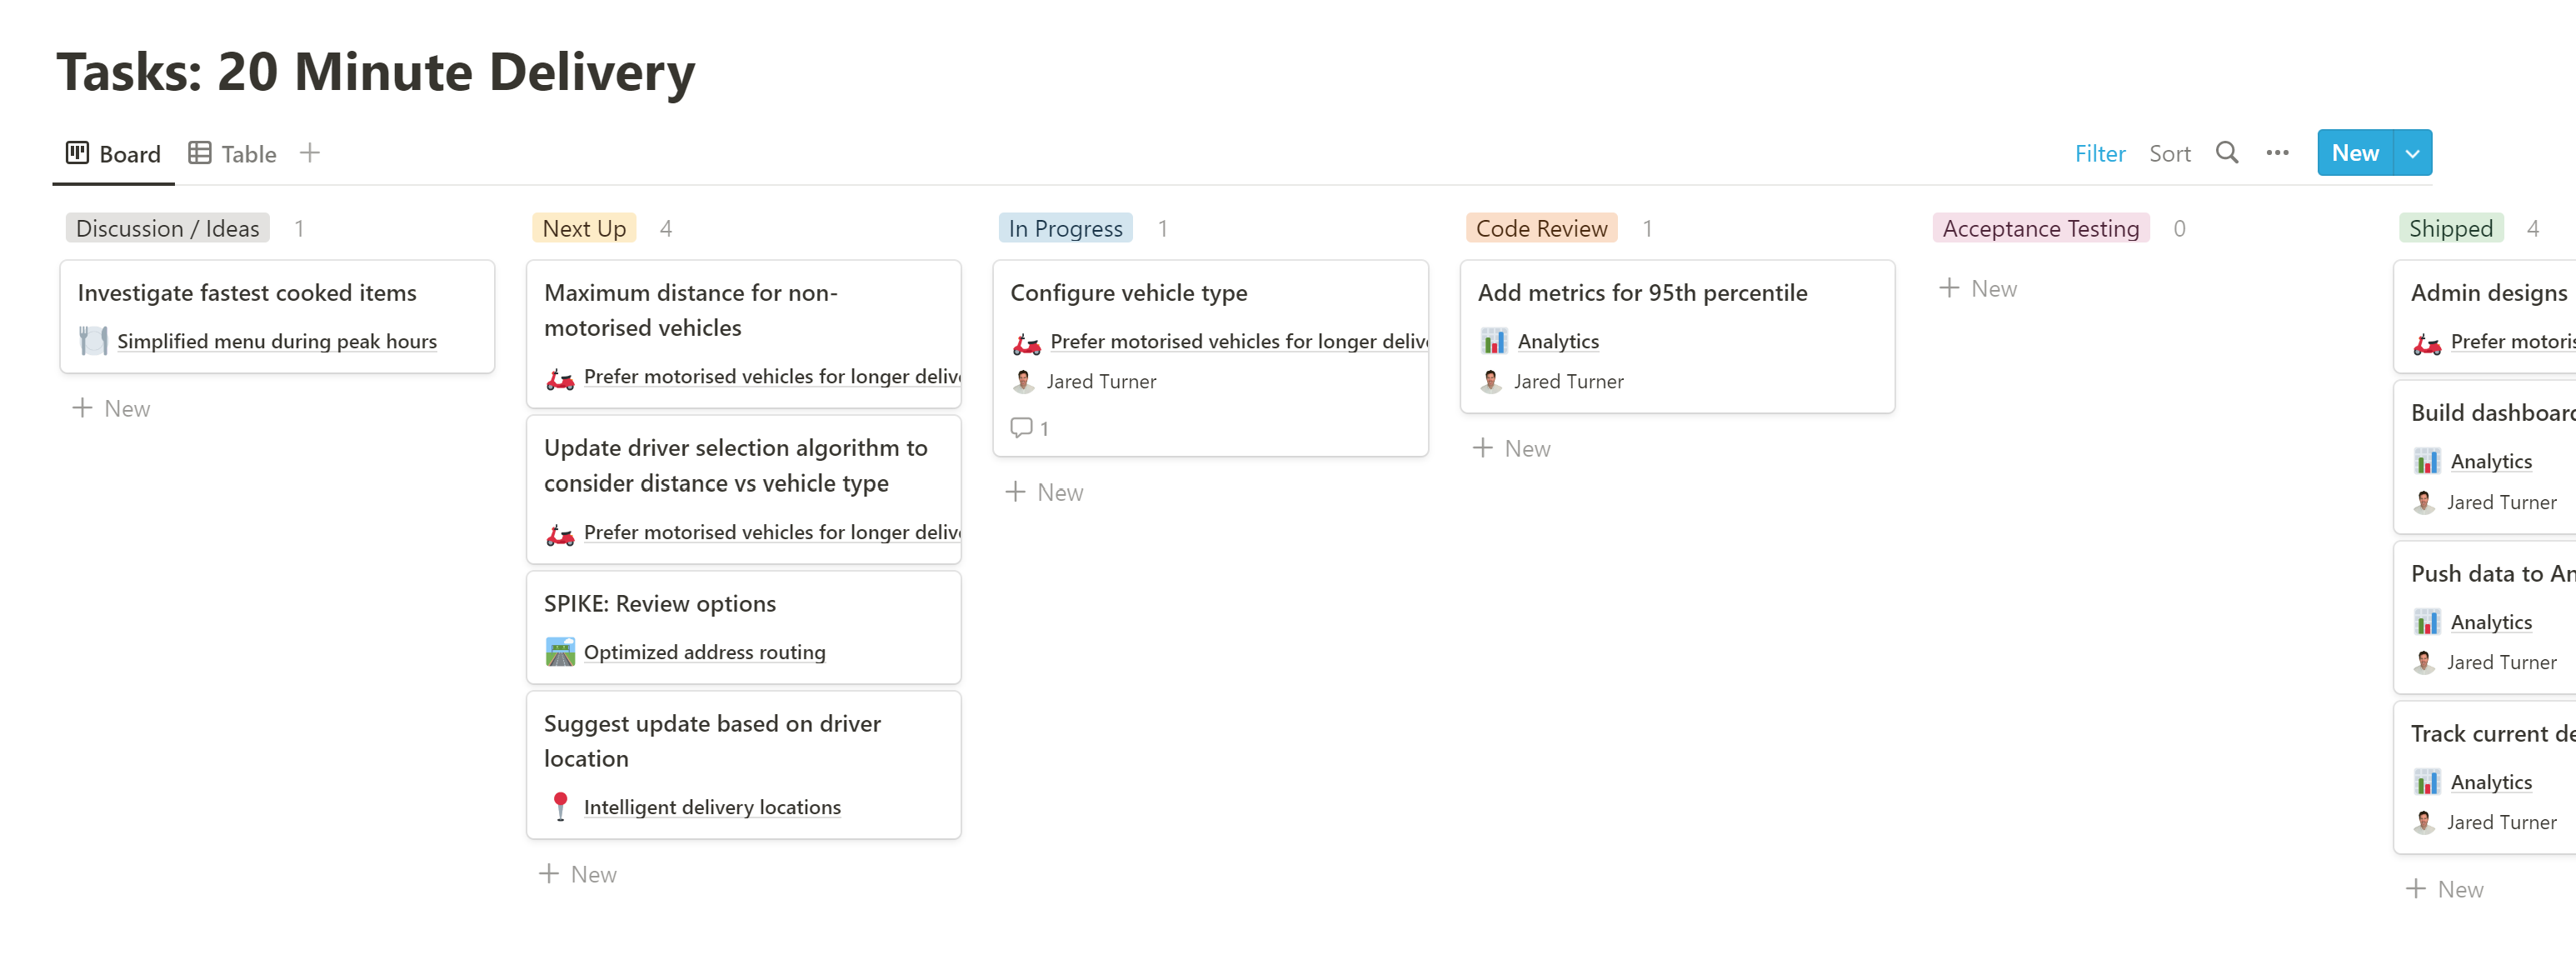
Show epics on tasks’ board
A quick divergence to ensure we can see which task is related to each epic when viewing the task’s Kanban board:
- Visit Tasks Board
- Options (3 dots)
- Properties
- Drag
Epicup intoShow in board
Now this is starting to look like a fully featured Kanban board!
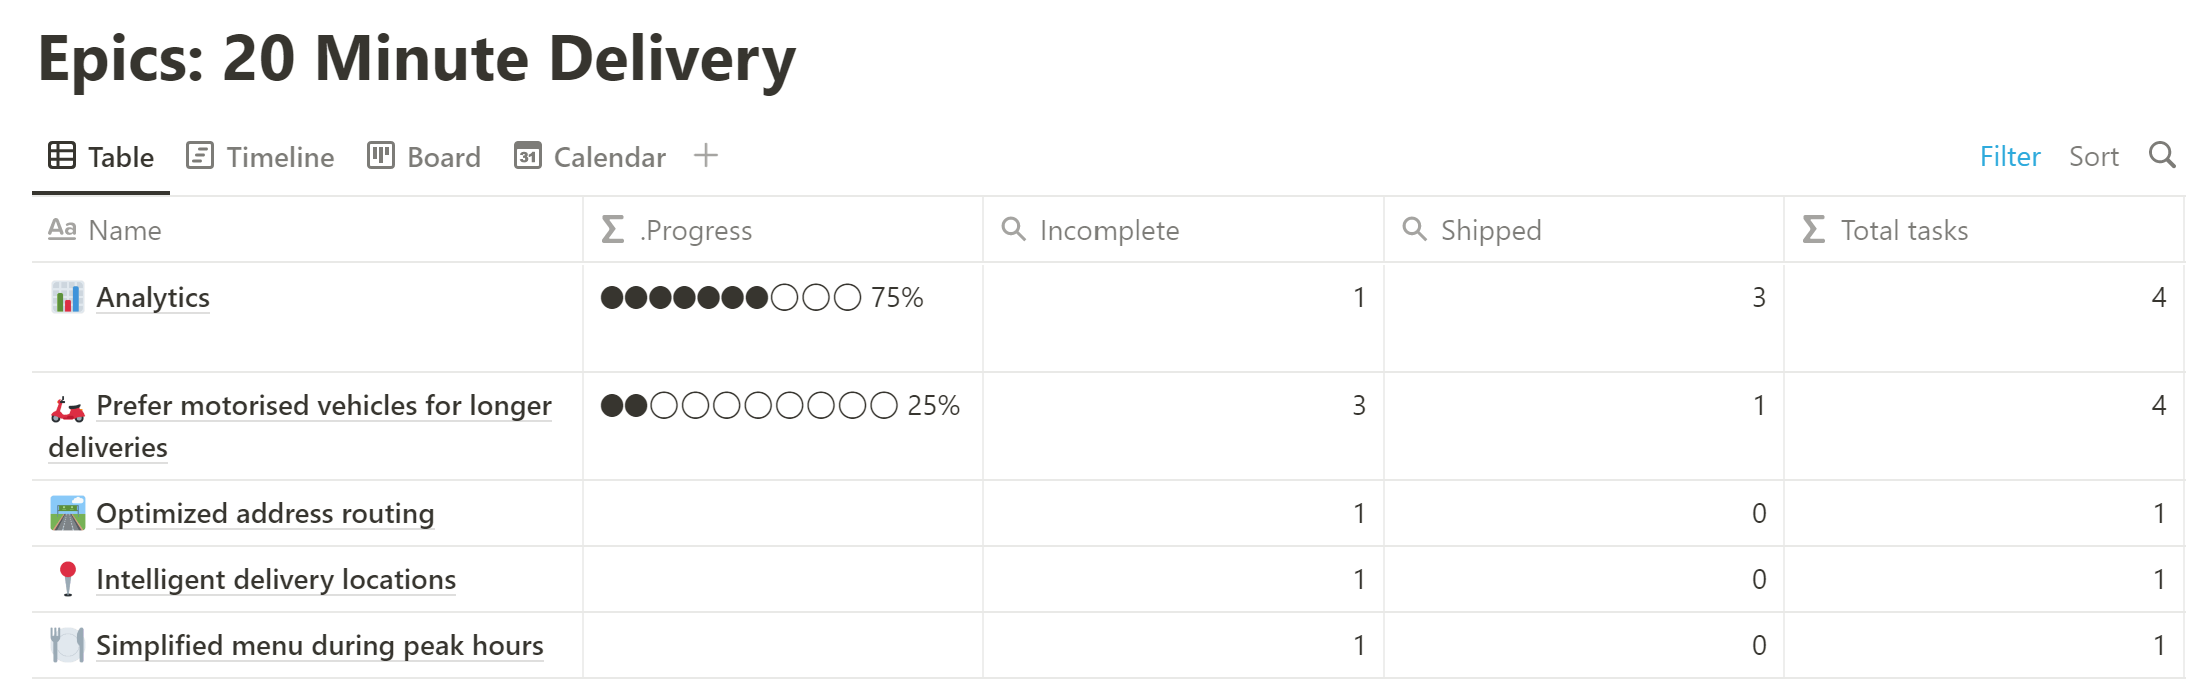
Showing progress
We wanted to have a visual indicator of progress, with the primary intention being to allow higher-level stakeholders to have a quick at-a-glance look and understand where we are at.
We settled on defining progress as the percentage of tasks completed.
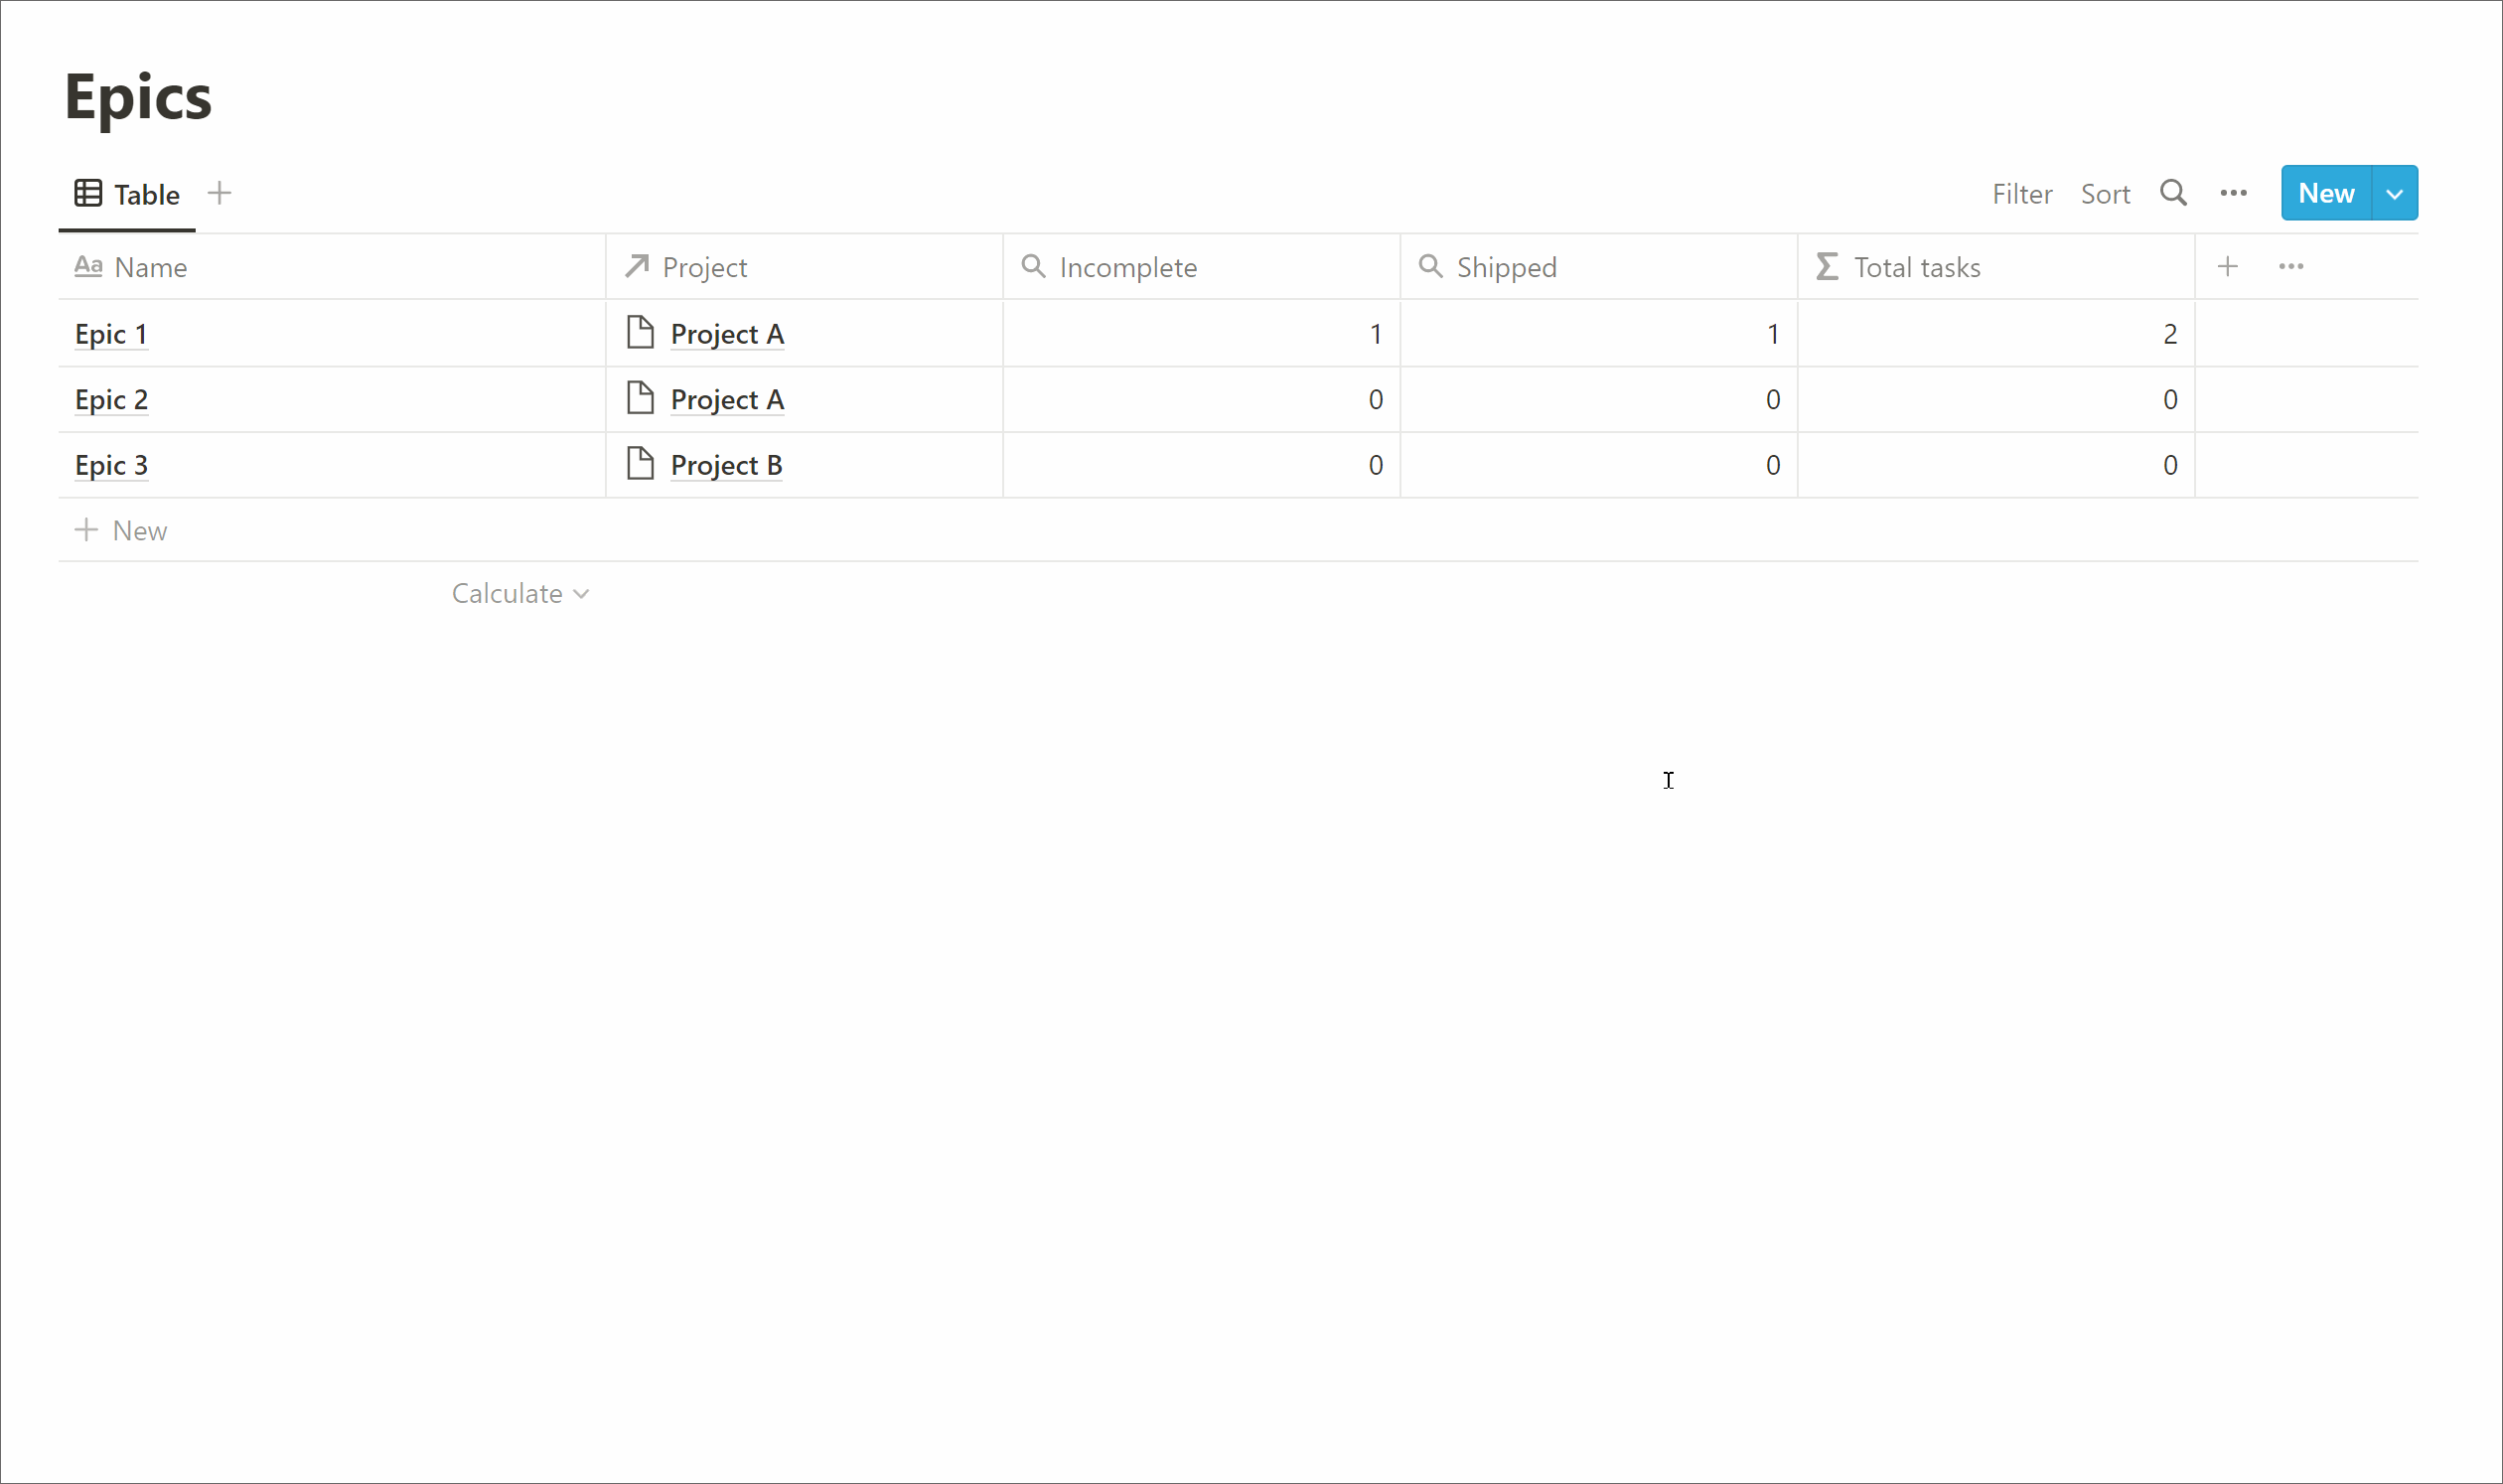
To do this we need three data points: count of incomplete tasks, count of shipped tasks and a count of total tasks. We’ll use Notion’s Formulas and Rollups to build the data we need. But before we can count per epic we need to know which tasks are Incomplete vs Shipped.

- Visit Tasks database
- Add property
- Name: Incomplete
- Type: Formula
- Formula:
if(contains(prop("Status"), "Shipped"), false, if(prop("Status") == "Discussion/Ideas", false, true))
- Add another property
- Name: Shipped
- Type: Formula
- Formula:
contains(prop("Status"), "Shipped")
Now we have the tasks data we need so we can create the epics data, starting with how many tasks are incomplete per epic:
- Visit Epics database
- Add property
- Name: Incomplete
- Type: Rollup
- Relation: Tasks (database)
- Property: Incomplete
- Calculate: Checked
Next we calculate how many tasks are shipped per epic:
- Add property
- Name: Shipped
- Type: Rollup
- Relation: Tasks (database)
- Property: Shipped
- Calculate: Checked
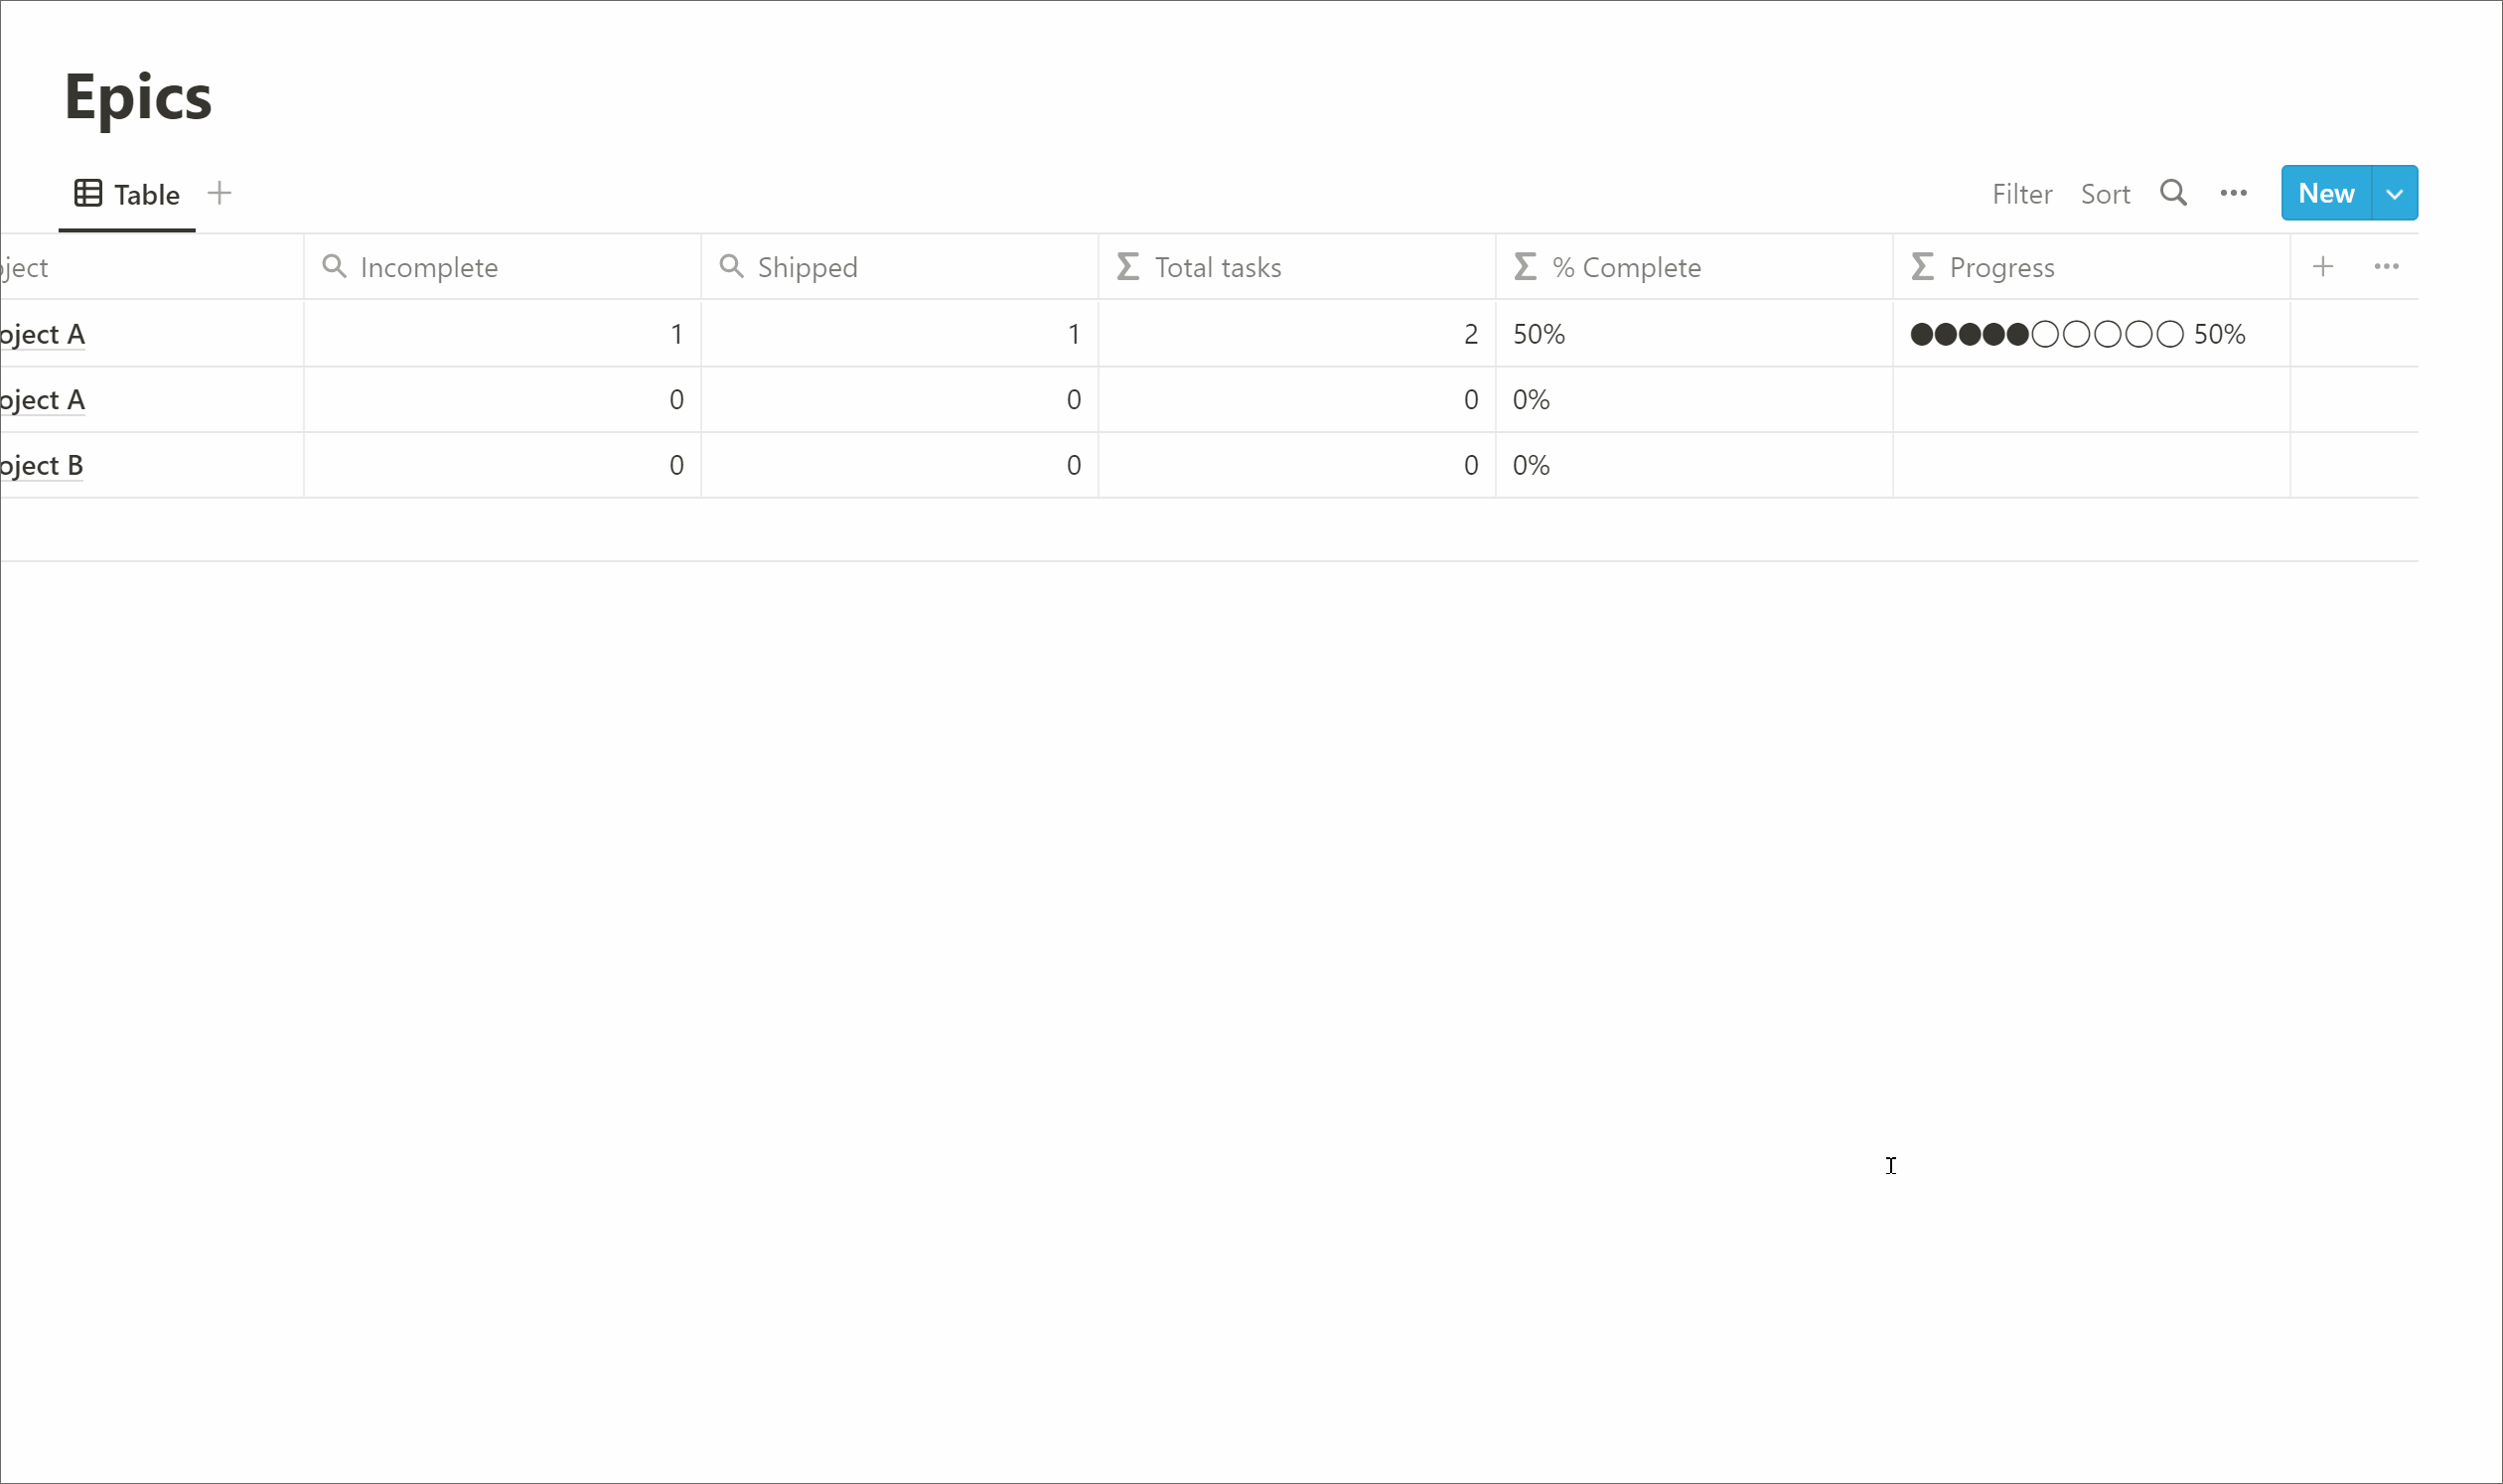
Finally, we need to know how many tasks in total there are per epic:
- Add property
- Name: Total tasks
- Type: Formula
- Formula:
prop("Incomplete") + prop("Shipped") - Number format: Number
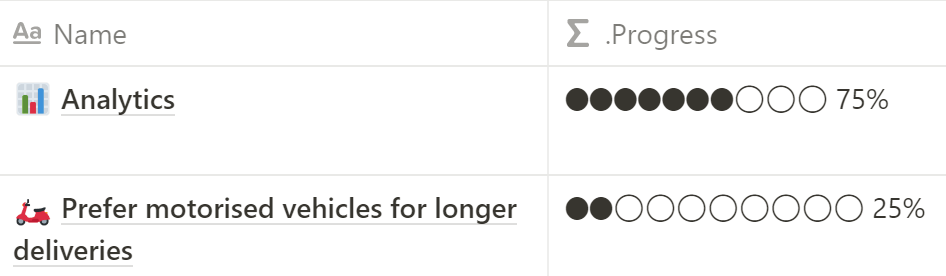
Now we have the data we need to show a percentage of progress complete:
- Add property
- Name: % Complete
- Type: Formula
- Formula:
format(floor(100 * prop("Shipped") / max(prop("Total tasks"), 1))) + "%"
Or to show a fancier progress bar:
- Add property
- Name: Progress
- Type: Formula
- Formula:
if(not empty(prop("Shipped")) and not empty(prop("Total tasks")), slice("⬤⬤⬤⬤⬤⬤⬤⬤⬤⬤", 0, floor(10 * prop("Shipped") / prop("Total tasks"))) + slice("◯◯◯◯◯◯◯◯◯◯", 0, 10 - floor(10 * prop("Shipped") / prop("Total tasks"))) + " " + format(floor(100 * prop("Shipped") / prop("Total tasks"))) + "%", "")
With special thanks to Red Gregory’s blog for inspiration.
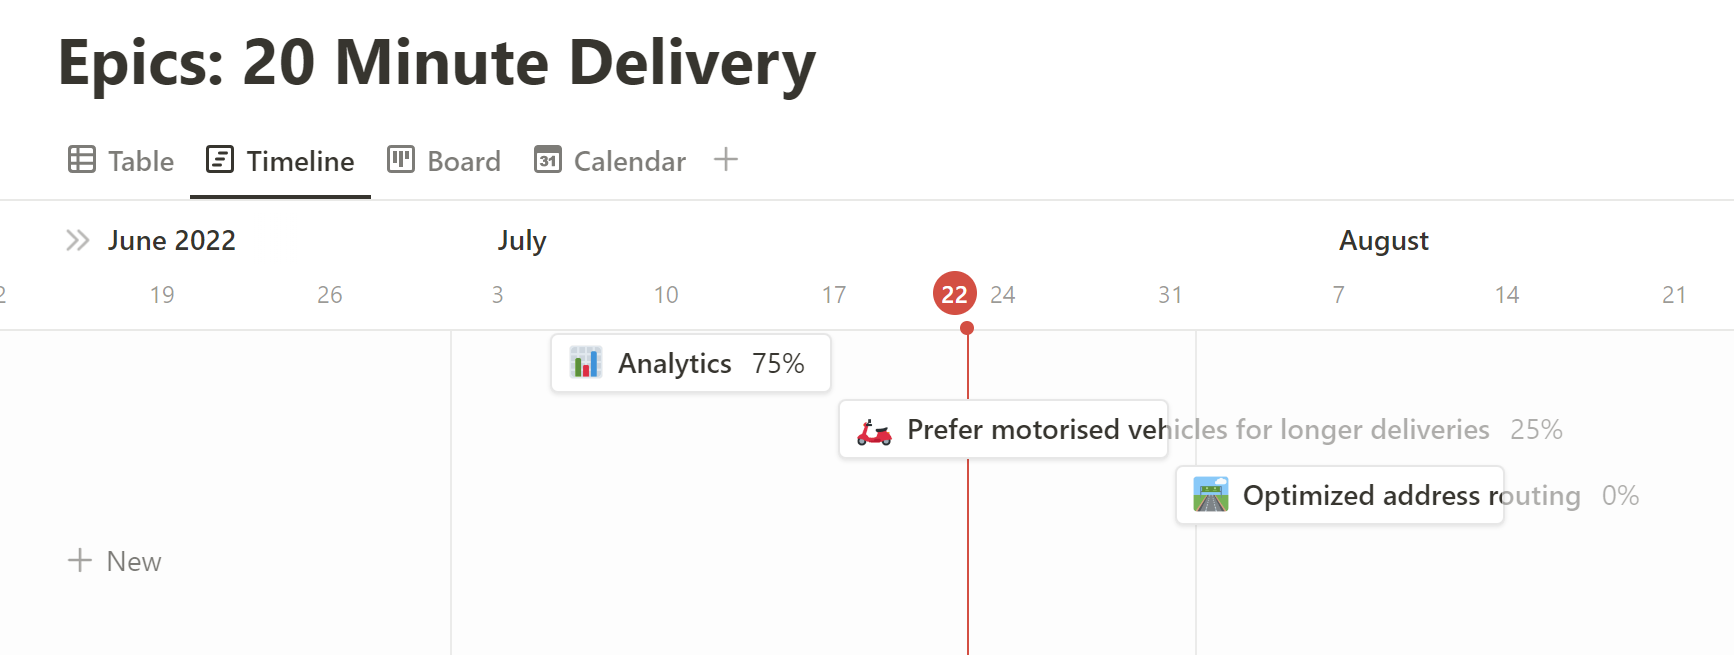
Dates and timelines
It can also be useful to chart epics against a rough timeline, to give stakeholders an idea of what the plan is for what gets worked on when.
To do this, we need a date column:
- Add property
- Name: Date Forecast
- Type: Date
- Date format: Full date
Now we can create a timeline view:
- Create new view
- Data source: Epics
- New empty view
- Timeline
Add your epics to the timeline:
- Select “No date” from the header
- Select all the epics you want to add
- Click and drag them to order and change their length
Create an epics database per project
Finally, like we did for tasks, we want to use the raw epics database to create a linked view for each project.
- New page
- Title: Epics: Project A
- Database: Table
- Select data source: Epics
- Copy an existing view: Table
- Filter > Project: Project A
- Add view
- Database: Timeline
Known limitations
One issue we’ve come across: When you are viewing a tasks board for a project, the list of Epics is not filtered by that project (you see the full list of epics). This hasn’t been an issue for now but may become an annoyance as we spin up more projects. Notion support have said they have added this feature request to their backlog so fingers crossed!
thoughtbot’s Notion product development template
As promised here is a template with all of the above already set up. Feel free to copy it and get started.
A journey’s beginning
This is just the start of our journey using Notion.Things will probably change as we discover better ways to do things. One area we’re still exploring is where and how to store all project-related documents (research, designs, technical docs) in one place that is easily accessible and well structured. But Notion’s flexibility should make it easy for us to continue to experiment.